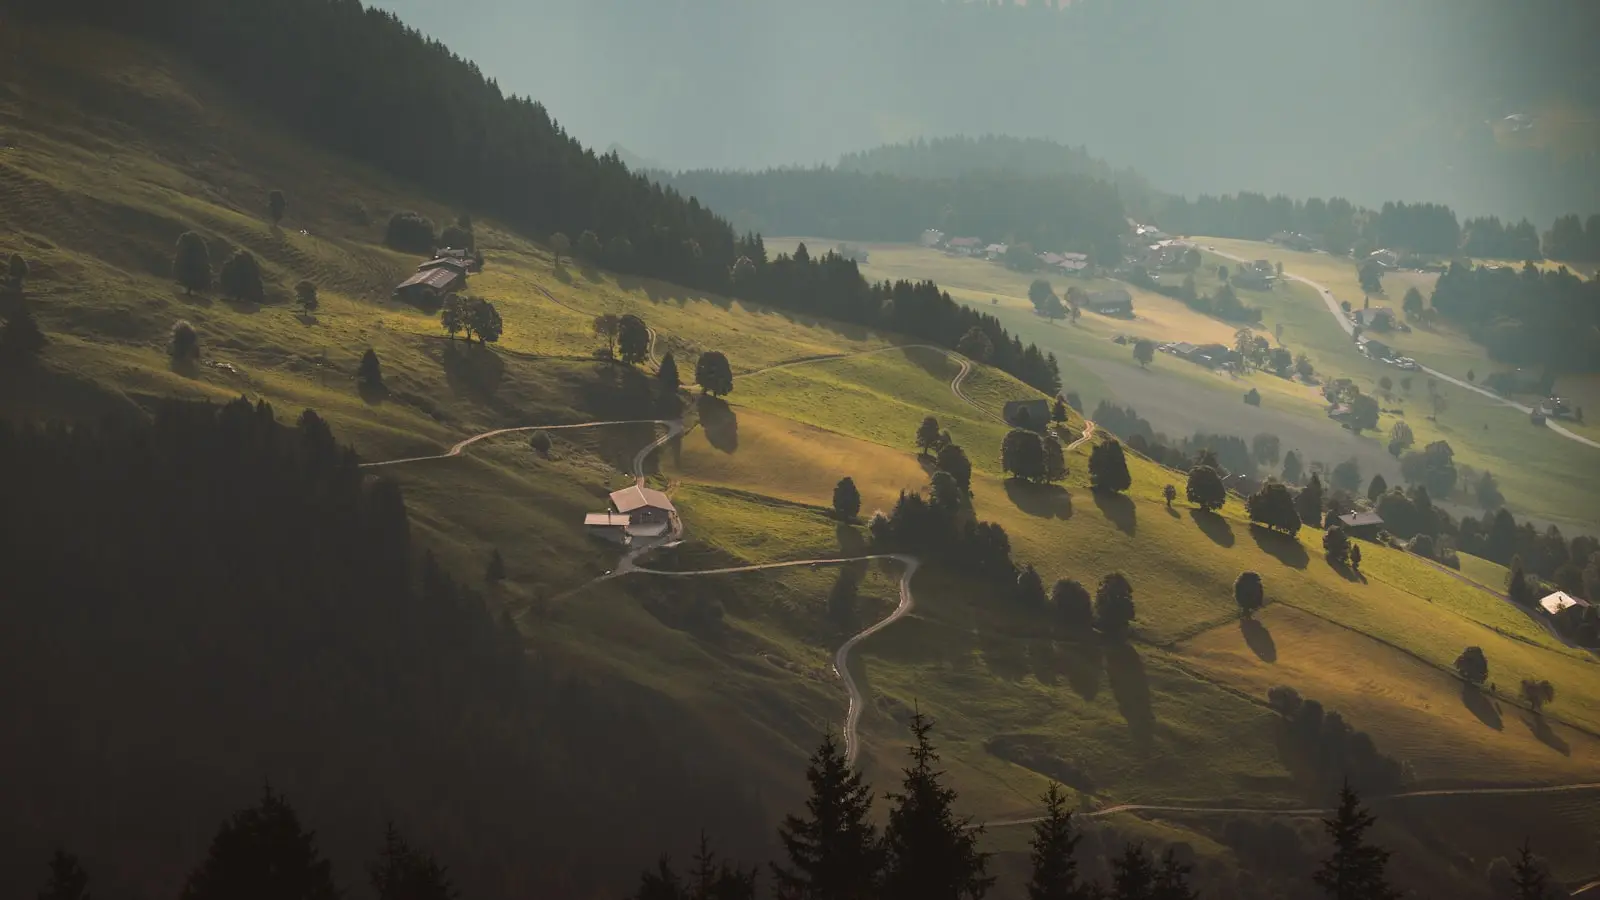
Smartphone photos of lush green landscapes can often look washed out or too dark. The fix involves understanding your phone’s limitations, choosing the right settings, composing carefully, and doing a little post-processing. Here’s how to make the greens pop without carrying a bulky camera.
Key Takeaways
- Tap to expose on a midtone green leaf, not the sky or a shadow, for correct exposure.
- Use HDR mode or exposure bracketing to balance bright sky and shadowed foliage.
- Shoot in ProRAW or DNG if available for maximum editing flexibility.
- Apply selective adjustments in Snapseed or Lightroom Mobile to brighten dark greens.
- Avoid digital zoom and over-saturating greens for natural-looking results.
1. Why Smartphone Photos of Green Scenes Often Fall Flat
Most phone cameras use a Bayer color filter array that dedicates twice as many pixels to green as to red or blue. That sounds like an advantage for green scenery, but real-world results are often disappointing. The problem is not a lack of green sensitivity; it’s dynamic range.
A bright sky and shadowed foliage can exceed what a phone sensor can capture in a single shot. The camera’s automatic exposure often averages the light, leaving the greens underexposed and dark. Or it prioritizes the sky, turning the foliage into a murky olive. Automatic white balance algorithms can also desaturate greens, especially in mixed light conditions like dappled forest sunlight.
Modern phones use computational photography to stack multiple exposures, but the process is not flawless. The result can still look flat or artificial. To get vibrant greens, you need to work with the camera’s settings rather than relying entirely on auto mode.
2. Camera Settings and Tools for Vibrant Greens
Use HDR mode thoughtfully. HDR helps balance highlights and shadows, which is critical for green landscapes. It brightens dark foliage while keeping the sky from blowing out. But some phones overdo HDR, creating an unnatural look. If your phone offers exposure bracketing (taking three shots at different exposures), try that instead for more control.
Spot metering is your best friend. Tap the screen on a midtone green leaf – not the brightest part of the sky and not a deep shadow. This tells the camera to expose for that area. The result is a more even exposure that keeps the greens rich. You can then adjust exposure compensation slightly to fine-tune.
Switch to manual controls via a third-party app. Built-in camera apps often limit your control. Free apps like Lightroom Mobile and ProCamera let you adjust ISO, shutter speed, and focus manually. For landscape photography, use a low ISO (100–200) to minimize noise, and a shutter speed that avoids motion blur from wind or handshake (1/60 sec or faster). Focus on the hyperfocal distance to keep everything sharp.
Capture raw format if possible. Many recent iPhones (Pro models) and Android flagships offer ProRAW or DNG. Raw files retain more data, especially in highlights and shadows, giving you much more latitude when editing greens later. The trade-off is larger file sizes and the need to edit, but the results are worth it.
Avoid digital zoom at all costs. Digital zoom crops and interpolates the image, destroying detail and making greens look mushy. Instead, move closer or use a dedicated telephoto lens if your phone has one. Optical zoom preserves sharpness and color.
Pay attention to light quality. Golden hour (one hour after sunrise or before sunset) produces warm, low-angle light that makes greens look richer and more three-dimensional. Midday harsh light washes out color and creates harsh contrast. If you must shoot at midday, look for shaded areas where the light is softer, or use a polarizing filter attachment to cut glare from leaves.
3. Composition Techniques That Make Greens Pop
Great composition draws attention to the greenery and creates depth. Start with the rule of thirds: place the horizon on the lower or upper third line, and put a key element like a lone tree or a winding path at a power point.
Leading lines pull the viewer through the frame. Use streams, fences, rows of crops, or stone walls to guide the eye from the foreground into the distance. This works especially well in rolling green hills where the lines follow the terrain.
Add foreground interest. A single rock with moss, a fallen log, a patch of wildflowers, or a gnarled tree root gives the viewer something to anchor on before moving deeper into the scene. Without a foreground element, wide green landscapes can feel flat and boring.
Frame with natural elements. Overhanging branches, leaves at the edges, or an archway of trees create a natural vignette that isolates the green valley beyond. This adds depth and a sense of being in the scene.
Try portrait mode for landscape details. Portrait mode isn’t just for people. Use it on a single leaf, a cluster of ferns, or a mossy stone. The background blur isolates the subject and makes the green texture stand out. Just be careful with the blur effect – keep it subtle so it looks natural.
Choose the right orientation. Vertical orientation (portrait) suits tall trees, waterfalls, or narrow mountain paths. Horizontal orientation (landscape) works for sweeping valleys, coastlines, and wide fields. Switch between them as the scene demands.
Get low. Crouching or placing your phone on the ground gives a worm’s-eye view that makes a small patch of grass or a flower look monumental. The sky becomes a backdrop, and the green foreground dominates.
4. Free Post-Processing Workflow for Vivid Greens
Editing is where you can rescue a flat shot and make the greens sing. Two free apps do the job well: Snapseed (iOS/Android) and Lightroom Mobile (free tier). Both allow selective adjustments.
Step 1 – Adjust overall exposure and contrast. Open your photo in Snapseed or Lightroom Mobile. Increase exposure a little if the image is dark. Raise contrast to separate the tones. This step alone often makes the greens look brighter.
Step 2 – Fine-tune the green channel. In Lightroom Mobile, go to the Color mixer and select the green slider. Increase saturation slightly (by 10–20 points) and shift the hue toward yellow if the greens look blueish. Lower the luminance if the greens are too bright and washed out. In Snapseed, use the Tune Image tool to adjust saturation, but for more precise control, use the Brush tool to paint saturation only on green areas.
Step 3 – Use selective adjustments. Both apps let you mask areas. In Snapseed, the Selective tool places points on the image – enlarge the area and increase brightness or contrast just on the dark foliage. In Lightroom Mobile, use the radial or linear gradient to lighten shadowed areas and darken overly bright sky.
Step 4 – Add clarity and dehaze. A small bump in clarity (10–15) brings out texture in leaves and grass. Dehaze reduces atmospheric flatness, which can make greens look hazy on overcast days. Use it sparingly – too much creates a heavy, artificial look.
Step 5 – Avoid over-saturating greens. A natural pop is more convincing than a neon glow. Check your edited photo against a memory of the actual scene. If the greens look too intense, scale back. The goal is to match what you saw, not to exaggerate.
When to use the vivid filter (and when to avoid it). Built-in vivid filters boost all colors indiscriminately, often making skin tones and skies look unrealistic. Use them only as a starting point, then tone down the saturation. Better to skip the filter entirely and do manual adjustments.
5. Cheat Sheet: Quick Tips in the Field
- Tap to expose on a midtone green leaf, not the sky or a dark shadow.
- Avoid digital zoom – walk closer or use optical zoom.
- Shoot in burst mode when leaves are moving in wind – pick the sharpest frame later.
- Turn on grid lines in your camera settings for composition.
- Wipe your lens with a clean cloth before every shot. Fingerprints kill green clarity.
- Use a dedicated telephoto lens if available for compressed perspective on distant hills.
- Hold the phone steady – lean against a tree or rock, or use a small tripod.
- Shoot with the sun behind you for even lighting on the landscape.
- In low light, brace the phone against a solid object to avoid blur.
FAQ
Why do my landscape photos look dull compared to what I see with my eyes? Phones have limited dynamic range. They often compress bright and dark areas, making greens look flat. Manual exposure and post-processing can recover the vibrancy.
Is it better to use HDR mode for green landscapes? Yes, HDR helps preserve detail in both bright sky and shadowed foliage. But don’t overuse it – some scenes look unnatural. Try exposure bracketing if your camera supports it.
Can I edit green tones on my phone without paid apps? Absolutely. Free apps like Snapseed and Lightroom Mobile let you adjust hue, saturation, and luminance of specific colors, including greens. No purchase needed.