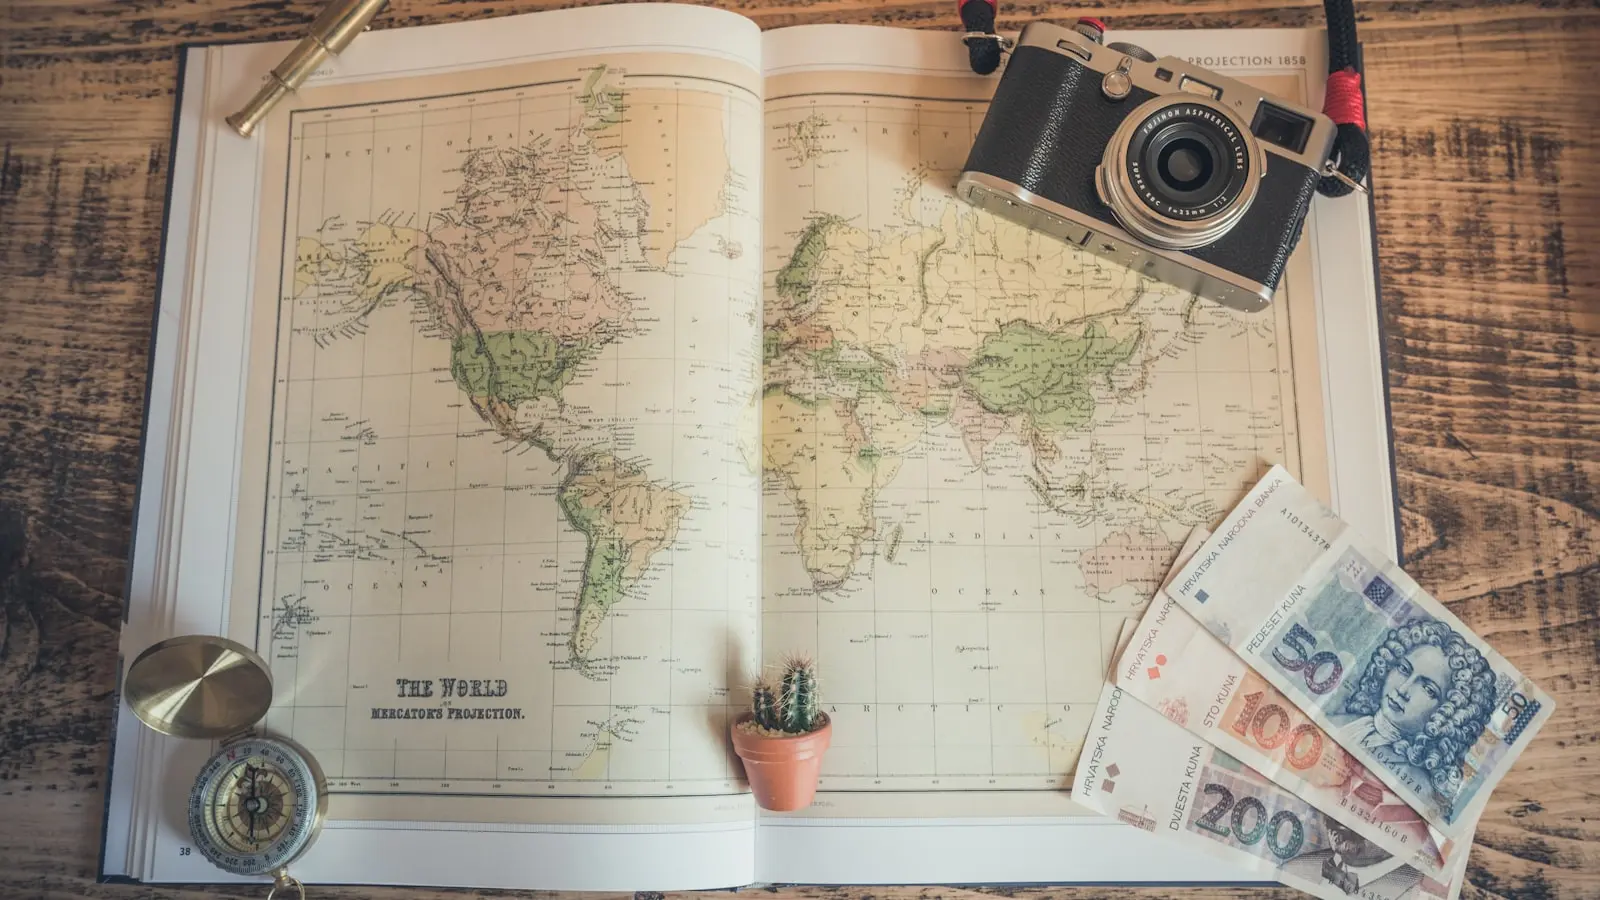
If you want to organize old travel photos from a trip taken years ago, do not start by deleting blurry shots or trying to make a polished album. Start by protecting the originals, then rebuild the story in layers: trip, route, key moments, and a small number of captions.
The goal is not to create a perfect public record. It is to make sure you can still find the rainy bus ride, the first meal in a new city, and the room where you finally slept after a long border crossing.
Key Takeaways
- Back up original files before renaming, moving, editing, or deleting anything.
- Sort by trip and route first; dates alone rarely preserve why a place mattered.
- Use travel photo metadata as a clue, then confirm uncertain details with emails, maps, tickets, and notes.
- Caption only the images that carry a story, using a short repeatable template.
- Keep private archives and shareable collections separate, and review location details before sharing.
Start With Preservation, Not a Perfect Album
An old travel archive contains two jobs. One is technical: files need to be safe, accessible, and reasonably ordered. The other is personal: you want to remember why an ordinary street corner, bus ticket, or breakfast photo mattered.
Separate those jobs. Your first priority is preservation, not editing, public sharing, or aggressive decluttering. Keep original files untouched and use separate copies for organizing, adjusting, or sharing.
Work one trip at a time. A three-year-old, multi-country collection may include thousands of images, but your first session can be small: gather the files, make a duplicate backup, and create one clearly named folder for the first journey.
Before sorting, collect context clues. Booking emails, calendar entries, saved maps, ticket confirmations, messages, receipts, and notes can restore details that photos cannot. They may tell you which town came before a mountain trek, when the ferry left, or why you photographed a café table six times.
Make a Duplicate Backup of Every Original File
Create at least one separate copy before you rename, move, cull, edit, or merge files. A mistaken folder move is frustrating; losing the only full-resolution record of a trip is much harder to fix.
A practical plan to back up travel pictures often uses more than one method:
- Cloud photo library: Convenient for browsing across devices, searching by date, and maintaining an off-device copy.
- Local computer or external drive: Gives you direct control over folders and offline access.
- Exported archive: A portable copy that is less dependent on a single account, app, or subscription.
Each approach has trade-offs. Cloud storage is convenient but may involve ongoing costs and changing settings. An external drive offers direct control but needs maintenance and can fail or be misplaced. Exports take time and storage space, but they reduce reliance on one service.
Check what the backup actually includes. If original resolution matters, confirm that you copied full-size files rather than reduced versions. Include videos, camera files, screenshots, and any sidecar or edit files your workflow uses.
Then test the backup. Open a random sample of photos and videos from the copied archive before treating it as complete. Syncing can be useful, but it is not automatically the same as an independent backup.
Build a Trip-First System Before You Sort Vacation Photos
When you sort vacation photos, begin with trips rather than years alone. A chronological folder may tell you a photo was taken in April 2023, but it may not tell future you whether it came from the overnight train, cooking class, or afternoon storm.
Use a simple naming convention such as YYYY-MM – Country or Trip Name. For a multi-country journey, create one parent folder with destination or trip-leg subfolders.
For example:
2023-04 – Southeast Asia Solo Trip
01 Bangkok
02 Northern Thailand
03 Laos
04 Cambodia
Selects and Stories
Numbered subfolders preserve route order even when time-zone changes, incorrect camera clocks, or photos received from someone else create confusing dates. They also make a long trip easier to browse without forcing every image into a generic yearly archive.
Keep an Unsorted or Needs Context folder inside each trip. This prevents uncertain images from stopping the whole project. You can return to them once the larger route becomes clearer.
During your first pass, make only three decisions:
- Keep images that belong in the complete record.
- Flag strong images that could anchor a story, journal entry, printed book, or sharing album.
- Mark obvious duplicates, accidental frames, and disposable images for later review.
Do not permanently delete anything until the backup is secure and checked.
Recover Travel Photo Metadata and Rebuild Missing Context
Travel photo metadata can provide a useful skeleton for an old archive. Depending on the device and file, it may include capture date, time, camera or phone information, and embedded location data. Photo libraries may also offer date or map views that reveal image clusters and suggest a route.
Treat this information as evidence, not final proof. Location labels can be broad, inaccurate, or missing. Time stamps can drift if a camera clock was wrong, and photos taken near midnight can fall into the wrong day after time-zone changes.
Start with easy anchors: an airport arrival, a recognizable landmark, a museum, a distinctive meal, or a place you are comfortable identifying privately. Then inspect nearby images by date and time. One verified image can often place an entire afternoon.
When metadata is missing or wrong, cross-check against reservation emails, ticket stubs, saved itineraries, maps, messages, and personal notes. Screenshots can be especially useful because they may preserve a map pin, platform number, address, or local spelling you no longer remember.
Add only details that will help future retrieval. A destination, neighborhood, activity, person, and trip leg are often enough. You do not need to tag every street vendor, train, or plate of food for the archive to become useful.
Use a Fast Photo Caption Workflow to Save What the Image Cannot Show
Photos preserve surfaces well. They do not preserve the smell of diesel after rain, the exhaustion behind a hostel-room selfie, or the kindness that made a difficult day feel manageable. Captions preserve that missing layer.
Do not caption every image. Start with flagged photos and aim for a few entries per day, place, or meaningful moment. A lightweight photo caption workflow is far more likely to be completed than a full memoir.
Use the same five prompts each time:
- Where: City, region, trail, museum, or broad area.
- When: A date or point in the trip.
- What happened: One concrete event or observation.
- What it felt like: Weather, sound, smell, surprise, or emotion.
- Why it matters: The detail you would otherwise forget.
A useful caption might read: “Luang Prabang, late afternoon. I waited at this bus stop after missing the earlier ride and ate sticky rice from a paper bag. The rain cooled everything down. This was the first day the trip stopped feeling scheduled.”
The photo may look like a wet road and a bench to everyone else. For you, it becomes a memory with a place, sequence, mood, and meaning.
Store captions in your photo library if its description fields work for your needs, or keep a linked notes document using the same trip-folder names. A digital travel journal can simply be selected photos paired with brief entries. It does not need to document every day; it needs enough detail to recover the route and emotional shape of the trip.
Use a stopping rule: the trip is organized when the route is understandable, original files are safe, important moments are flagged, and a manageable selection has captions. Perfection is not a preservation standard.
Choose How to Keep, Share, and Protect the Finished Archive
One archive can produce three different outcomes:
- A private complete archive containing every useful image.
- A personal digital travel journal or small printed book built from selected scenes.
- A themed, shareable collection for friends, family, or public publishing.
Keep these outputs separate. A sharing album should be a copy or a distinct selection, not the master archive. That way, a crop, caption change, or privacy edit made for an audience does not alter your preserved originals.
Solo travelers should make a deliberate privacy pass before sharing. Review images for exact accommodation locations, room views, key boxes, access details, recurring walking routes, boarding information, documents, addresses, and screens that reveal personal data.
Consider other people, too. A casual photo may identify a companion, local host, guide, or fellow traveler. Ask before featuring someone prominently when possible, and avoid attaching precise location details to people who may not want them shared.
Location metadata deserves its own check. Sharing behavior can vary by device, file type, app, and current settings. Inspect the actual shared copy rather than assuming a privacy setting removed every detail. If an exact location is not necessary to the story, use a broader label such as a city, region, or country.
Choose the finish line that suits the archive. Export a private digital travel journal if the stories matter most. Make a small printed book if you want an object that can live on a shelf. Build a focused collection around one route, food memory, landscape, or travel lesson if you want something easy to share.
FAQ
What is the easiest way to organize old travel photos when I do not remember every location?
Sort by trip first, then use dates, map views, booking records, messages, and ticket confirmations to identify the clearest anchors. Put uncertain images in a Needs Context folder rather than letting them stall the project. Return to them once the broader route is visible.
Should I keep travel photo metadata when sharing photos publicly?
Keep useful metadata in your private master archive when it helps you find and understand photos later. For public or broadly shared copies, review whether precise locations, dates, or device details could reveal accommodation, routines, or other sensitive information. Remove or limit details that are unnecessary for the audience.
What is the best way to back up travel pictures without relying on only one service?
Use complementary copies: a cloud library for convenience, a local computer or external drive for file control, and an exported archive when practical. The important point is that at least one copy should remain separate from the place where you normally browse and edit photos.