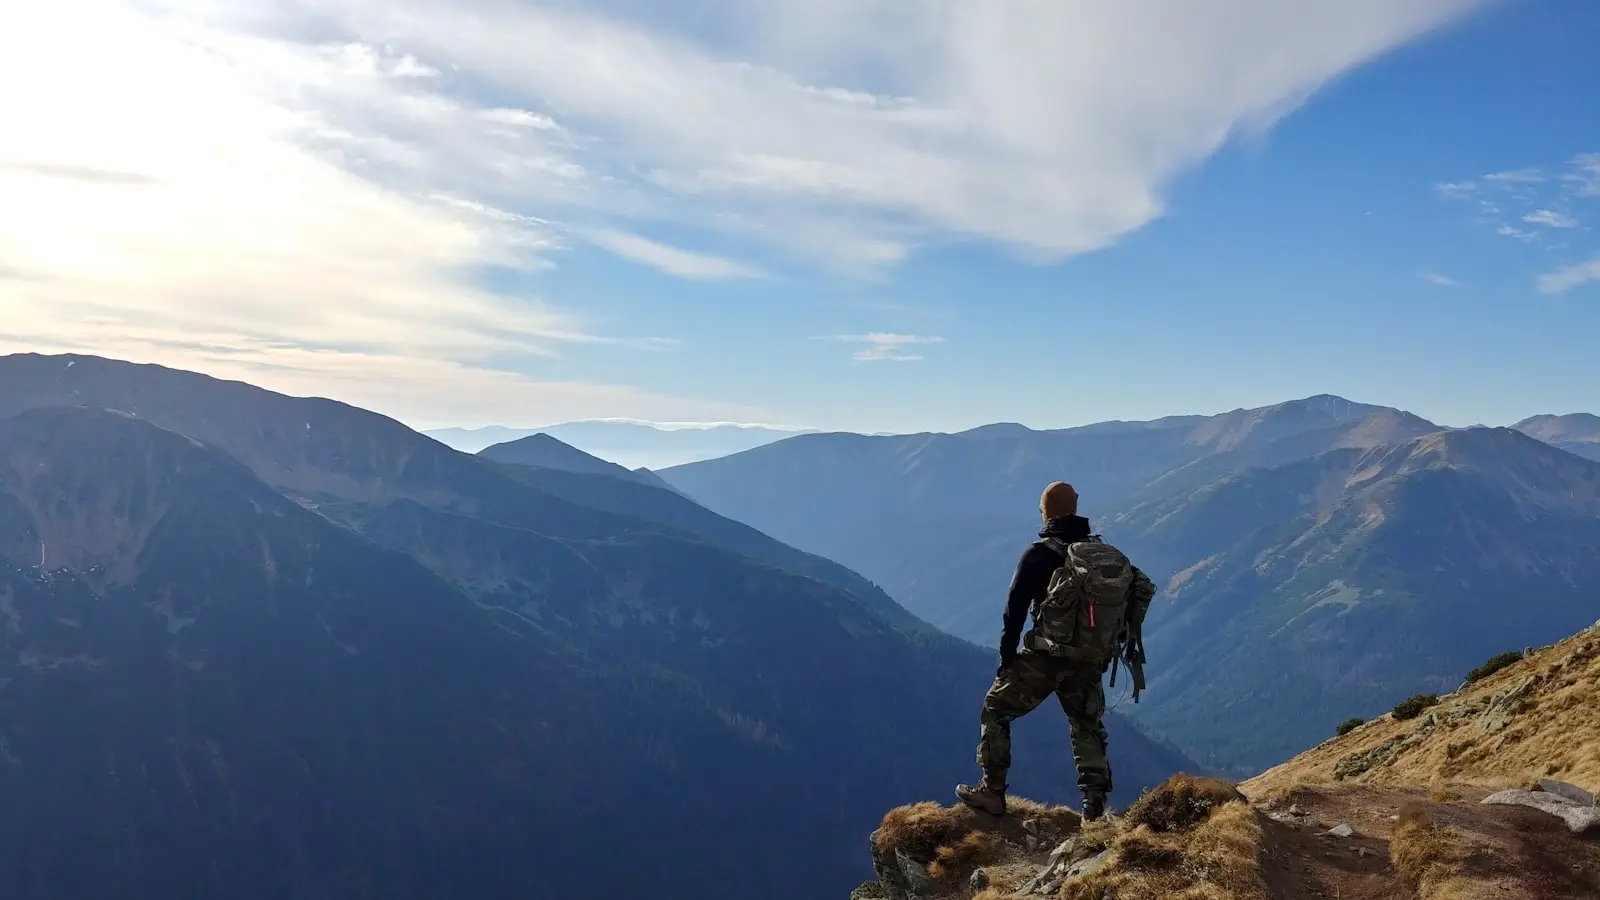
Start training eight weeks before your trip with a structured plan that combines progressive walking, strength work, hill simulation, and pack loading. The Scottish Highlands present unique challenges — short steep climbs, ankle-deep bog, uneven rock, and frequent rain — that demand more than casual weekend strolls. Without preparation, knee pain, shin splints, and overwhelming fatigue ruin the experience by day two.
Key Takeaways
- Train for a minimum of 8 weeks, progressing from 5 km walks to 20 km days with a full pack.
- Combine strength training (squats, lunges, step-ups) and hill simulation to handle steep ascents and uneven terrain.
- Increase pack weight gradually from 10–15 lbs to your target load, and break in boots at least 4 weeks before the hike.
- Prevent common injuries by strengthening your quadriceps and glutes, respecting rest days, and using trekking poles on descents.
- Fuel training with adequate protein (1.5–2 g per kg body weight) and carbohydrates; during the hike, plan for 3,500–5,000 calories per day.
Why Scottish Terrain Demands Specific Training
The Highlands are not flat. A typical day on the West Highland Way includes several climbs of 100–300 metres in elevation, often over loose scree or wet grass. The descents hammer your quadriceps and knees. Boggy ground forces your feet and ankles to constantly micro-adjust, which fatigues stabiliser muscles you never use on pavement. Carrying a pack that weighs 25–35 pounds shifts your centre of gravity and loads your lower back and shoulders in ways that a day hike without weight does not. The most frequent mistakes are jumping into long hikes too quickly, ignoring strength work, and underestimating how much a full pack changes gait mechanics. A structured 8-week plan that respects progressive overload and recovery addresses these issues and converts the trip from a survival march into an enjoyable journey.
Your 8-Week Training Schedule (From 5 km to 20 km Days)
Weeks 1–2: Build a base – Walk three times per week for 5–8 km on flat to gently rolling terrain. Carry no pack. Focus on maintaining a steady pace and good posture. This phase conditions your feet, ankles, and cardiovascular system without risk of overuse. Weeks 3–4: Add distance and a light pack – Increase walks to 10–12 km twice weekly. On one of those days, carry a pack of 5–10 pounds (2–4 kg). Add one hill session or stair-climbing session per week. The goal is to introduce load and elevation without jumping straight to full weight. Weeks 5–6: Build endurance and strength – Perform one long hike of 15–18 km each week with the pack at 50–70% of your target load. Include a second hike of 10 km with a lighter pack. Strength train twice per week on non-consecutive days. Cross-train once with cycling or pool running to give your joints a break. Week 7: Peak week – One 20 km hike with your full pack (25–35 pounds). If possible, do back-to-back days of 12 km and 15 km to simulate consecutive walking. Reduce other training volume. Week 8: Taper – Cut volume by 50%. Keep two short walks of 5–6 km, one strength session, and plenty of stretching. Your body uses this time to repair and super-compensate. For those without access to hills, replace the hill session with a stair machine (30–60 minutes) or a treadmill set to 10–15% incline. Cycling and pool running build aerobic base without impact and are excellent supplementary options.
Essential Strength and Conditioning for Hikers
Strength training protects your joints and improves endurance on uneven terrain. Perform these exercises twice per week, three sets of 12–15 reps. Lower body: bodyweight squats, forward lunges, step-ups onto a sturdy chair or bench, and calf raises. Step-ups mimic the uphill stride and build the glute and quad strength needed for climbs. Core: planks (30–60 seconds), dead bugs, and bird dogs. A stable core prevents you from swaying under the pack and reduces lower back strain. Upper body: bent-over rows or resistance band rows, and overhead press. These help you manage the pack straps and maintain upright posture. As you progress, increase reps to 18–20 to shift toward muscular endurance. Never sacrifice form for weight — the goal is durability, not bulk.
Hill Repeats and Simulating Elevation Without Mountains
If you live in flat country, stair climbing is your best substitute. Find a stadium, a parking garage with multiple floors, or use a stair machine. Start with 20 minutes and work up to 45–60 minutes. On a treadmill, set the incline to 10–15% and walk at 3–4 km/h for 30–45 minutes. For outdoor hill repeats, locate any slope — even a 50-metre rise — and walk up briskly for 2–3 minutes, then walk down for recovery. Repeat 5–10 times. To mimic the boggy ground of the Highlands, walk on sand, thick grass, or a gravel path. These surfaces force your ankles to engage constantly, building stability that prevents twists on actual trail days. Practice walking with trekking poles during these sessions; they reduce knee impact on descents and improve balance on uneven ground.
Gear Break-In and Pack Weight Progression
Your boots need at least four weeks of wear before the trip. Walk in them on short training walks, around the house, and on varied surfaces. This moulds the insole to your foot and softens the upper, preventing blisters. For pack training, start with 10–15 pounds (4–7 kg) and add 2–4 pounds every week. By peak week, your pack should match the weight you will carry on the actual hike — typically 25–35 pounds for a multi-day trek with food, water, shelter, and clothing. Practice adjusting the hip belt and shoulder straps so that 80% of the weight sits on your hips. Load and unload the pack to get comfortable accessing gear. If you plan to use trekking poles, adjust the length to your height and practice planting them rhythmically during your walks.
Injury Prevention, Recovery, and Nutrition
Knee pain is the most common issue. Prevent it by strengthening your quadriceps and glutes with lunges and step-ups, and by using trekking poles on descents to unload the joints. Shin splints often result from rapid increases in mileage or walking on hard surfaces. Stretch your calves after every walk, and keep mileage increases to no more than 10% per week. IT band pain responds well to foam rolling the outer thigh and hip-strengthening exercises like clamshells. Schedule at least one or two full rest days per week. Active recovery — gentle walking, swimming, or a light bike ride — keeps blood moving without joint stress. Nutrition during training matters: aim for 1.5 to 2 grams of protein per kilogram of body weight daily to repair muscle. On long hikes, consume 30–60 grams of carbohydrates per hour (energy bars, dried fruit, gels). Replace electrolytes if you sweat heavily; plain water is often enough for walks under two hours, but a sports drink or electrolyte tablets help on longer efforts. During the multi-day hike itself, plan for 3,500 to 5,000 calories per day depending on your size and effort level. That means carrying high-calorie, lightweight foods such as nuts, nut butter, trail mix, and dehydrated meals.
FAQ
How many weeks should I train before a multi-day hike in the Highlands? Start at least eight weeks out. Twelve weeks is ideal for building a solid base and reducing injury risk, especially if you are new to long-distance walking.
Can I train for a Highland hike if I live in a flat area? Yes. Use a stair machine, treadmill incline, or a multi-storey car park for hill simulation. Cross-train with cycling or pool running to build aerobic endurance. The key is to create vertical gain through repeated elevation, not distance.
What is the most common injury when training for long-distance hiking and how to avoid it? Knee pain tops the list. Strengthen your quadriceps and glutes with lunges and step-ups, avoid jumping too far in weekly mileage, and use trekking poles on descents during training and on the actual hike. If pain persists, reduce volume and consult a physiotherapist.