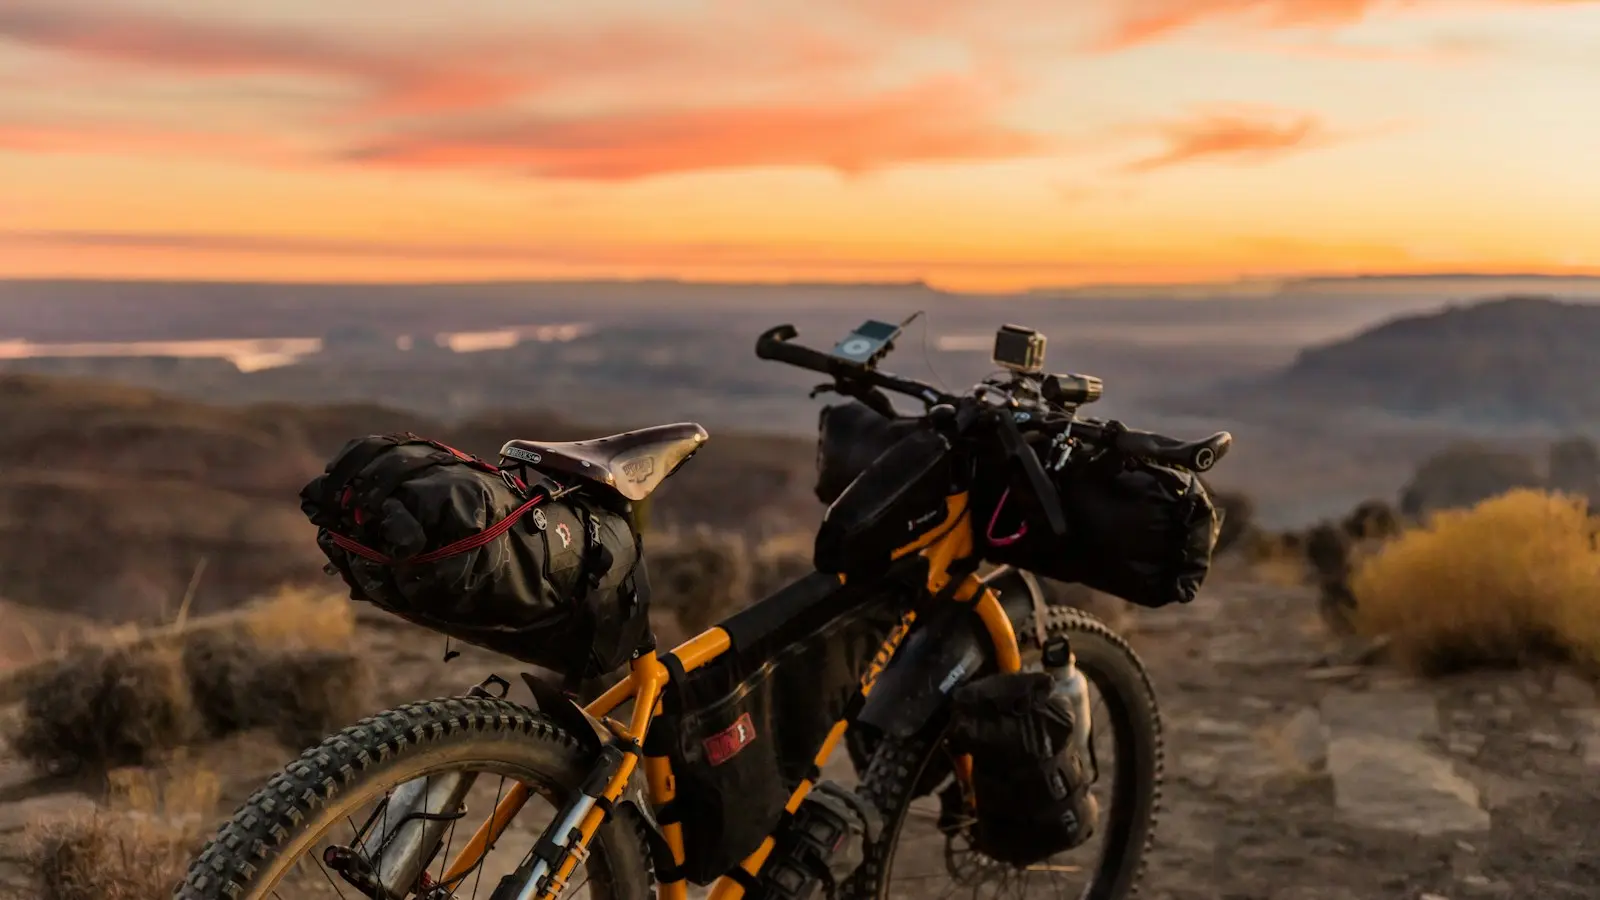
A good cycle touring packing list for six days should keep you safe, fed, dry, repair-capable, and comfortable without making the bicycle difficult to control. The essentials are a usable repair kit, lights, weather layers, personal medication, documents, navigation, water capacity, food for the next riding section, and overnight equipment matched to your accommodation.
The exact load depends on the season, route surface, forecast, luggage capacity, mechanical ability, and whether you are staying in hotels, hostels, or campsites. Use three priorities: essential items prevent serious delays or unsafe riding; useful items solve predictable daily problems; optional items improve comfort only when space and handling allow.
Key Takeaways
- Prioritize equipment that prevents a small mechanical, weather, visibility, or health problem from ending the riding day.
- Use layers and wash lightweight clothing during the trip instead of packing six complete outfits.
- Keep documents, medication, rain gear, snacks, and repair supplies dry and easy to reach.
- Carry only the overnight equipment your accommodation requires, and distribute heavy items low and centrally.
- Confirm current ferry bicycle rules, bookings, identification requirements, and luggage limits before departure.
1. Pack the essentials that prevent serious delays or unsafe riding
The most important part of a six-day bike tour packing list is not clothing variety. It is the equipment that stops a puncture, low-light arrival, minor injury, or dead phone from ending the day.
Your minimum bikepacking repair kit should include spare inner tubes in the correct size, tyre levers, a pump or compatible inflator, a multitool, tyre patches, and a chain quick link compatible with your chain. Add a small amount of duct tape or repair tape, which can temporarily secure a loose bag, torn strap, or damaged cable housing.
Carry both spare tubes and patches. A replacement tube is usually the faster roadside solution, while patches let you restore damaged tubes and preserve limited spares. Check the tubes before departure and confirm that the pump fits your valve type. A kit is only useful if you know where each item is and can use it in poor weather or fading light.
A chain tool is worthwhile when you know how to operate it and expect remote riding or rougher surfaces. For a first tour, a compatible quick link may be the more practical chain-repair option, but it does not replace every repair skill. Riders with hydraulic brakes, unusual axle systems, electronic shifting, or less common tyre formats should consider which failure-specific items suit their bicycle.
Pack front and rear lights even if most riding is planned for daylight. Include charging cables or spare batteries, and check that the mounting positions remain visible with panniers fitted. Reflective or high-visibility details can improve conspicuity in poor weather and low light, but no single item removes the need for sensible road positioning and careful riding.
A compact first-aid pouch should cover basic cleaning and dressing needs, with blister care particularly useful on a first tour. Add personal medication, sun protection, and insect protection when relevant to the route and season. Medication should remain in its original or clearly identifiable packaging where practical, and personal medical decisions should follow advice from a clinician or pharmacist.
The consequence-based rule is simple: carry anything that prevents a minor mechanical, visibility, or health problem from becoming a missed ferry, an unsafe ride, or an expensive roadside repair.
2. Build a compact cycle touring clothing system for changing weather
The best cycle touring clothing system is based on layers rather than a separate outfit for every forecast. A typical riding setup includes padded shorts or an equivalent comfortable option, moisture-managing tops, cycling socks, supportive shoes, gloves, and a correctly fitted helmet.
Build around a breathable base layer, a light insulating mid-layer, and a windproof or waterproof outer layer. This gives you more control when a cool morning becomes a warm climb or a dry section turns wet. Keep a rain jacket accessible rather than burying it at the bottom of a pannier; waiting until you are soaked makes every later layer less effective.
Keep essential contents dry with waterproof pannier covers, waterproof bags inside panniers, or both. Covers may protect against rain but can be vulnerable to spray and wind, while internal dry bags provide another barrier for documents, electronics, and spare clothes. Test the arrangement before departure rather than discovering its weaknesses beside a roadside café.
For six days, most riders do not need six complete riding outfits. A more realistic approach is to rotate a small number of riding items, wash them during the trip, and allow time for drying. Two or three pairs of riding shorts or equivalents, several lightweight tops, cycling socks, and one spare riding layer can work for many accommodation-based tours, but the right quantity depends on sweat, weather, laundry access, and personal comfort.
Pack one warm off-bike layer and one comfortable evening set instead of a full casual wardrobe. Lightweight trousers or shorts, a simple top, underwear, and sleepwear are generally more useful than multiple heavy garments. One pair of shoes may be enough if it works for riding and walking; a second pair is a comfort choice that adds weight and volume.
Carry a small amount of detergent, use accommodation laundry facilities where available, or rinse lightweight clothing in a sink. Do not rely on a damp item drying overnight in cool or humid conditions, so keep one dry backup layer for the next morning. Exposed routes, coastal wind, rain, and cooler nights justify more insulation than a sheltered summer itinerary, while the forecast should guide final decisions rather than seasonal assumptions alone.
3. Carry documents, navigation, food, and electronics without creating duplication
Keep identification accepted for every country and transport operator on the route, booking confirmations, travel insurance details, emergency contacts, payment cards, and a backup payment method. Store the backup separately from your main wallet. Verify current entry, identification, insurance, and payment requirements before leaving, since a digital copy may not replace an original document and requirements can change.
A phone with offline maps is a practical primary navigation tool, but it should not be the only plan. Download the route before departure, carry a charging cable, and keep a power bank if your riding days are long. A printed route overview, written accommodation details, or another simple backup can help if the phone is lost, damaged, overheated, or out of signal.
Your European cycling trip essentials should include enough water capacity for the longest expected gap between reliable refill points. There is no universal volume that suits every rider or route: heat, climbing, pace, access to shops, and personal medical needs all matter. Check current route information and plan to refill rather than carrying several days of water.
Carry ride food suited to the expected duration, intensity, dietary needs, and availability along the route. Compact snacks can cover the gap between meals, but there is little value in carrying six days of food when shops, cafés, or accommodation provide regular resupply. Keep a small amount accessible while riding and separate the rest from documents and electronics.
For electronics, take the phone, charging cable, plug adapters where needed, and power bank only if they serve navigation, communication, safety, or documentation. A camera, e-reader, or additional device is optional. Keep medication, identification, money, phone, and essential charging equipment in an easily reached and protected bag.
4. Choose overnight gear and distribute weight for stable handling
Decide your accommodation strategy before packing. Hotels and hostels usually require compact sleepwear, toiletries, medication, earplugs, laundry supplies, and perhaps a lightweight towel if one is not supplied. A small lock may be useful, depending on the accommodation and where the bicycle is stored.
Camping changes the calculation substantially. You may need a shelter, sleeping bag or quilt, sleeping mat, cooking equipment, a compatible stove and fuel, food-storage equipment, and additional weather protection. Treat these as a separate camping assessment rather than automatically adding them to every six-day cycle touring packing list. Wild camping also involves route, land-access, water, weather, and local-rule considerations that should be checked independently.
Panniers generally carry more with less weight on your shoulders, making them useful for clothing and overnight equipment. A handlebar bag is convenient for snacks, a phone, documents, and rain gear. Frame bags use central space efficiently for tools or compact items. A small backpack can work for light personal belongings, but it may increase heat, shoulder fatigue, and pressure on the back during long riding days.
Keep heavy items low and close to the bicycle’s centre, balance left and right panniers, and prevent contents from moving inside the bags. Protect fragile electronics with padding and keep repair supplies, medication, rain gear, snacks, and documents reachable without unpacking everything.
Check the load limits for the bicycle, rack, panniers, bags, axles, and brakes. Total weight and distribution affect steering, braking, climbing, and the security of rack mounts. A loaded bicycle should feel predictable rather than merely capable of carrying everything you managed to fit.
5. Use a weight-conscious checklist and remove low-value extras
On the bicycle: carry the repair kit, lights, rain layer, water, snacks, navigation access, and a small first-aid or personal-medication pouch. These are the items most likely to be needed during a riding day and should not be hidden beneath evening clothes.
In one easily accessed bag: keep identification, money, phone, charging essentials, medication, booking details, and items needed during a ferry crossing or transport stop. Use waterproof protection and keep valuables with you when the bicycle is separated from your luggage.
In the main panniers: place clothing layers, evening clothes, toiletries, laundry supplies, sleep equipment, and non-urgent electronics. Pack each category in a separate lightweight bag so that a wet jacket does not contaminate dry clothing and finding one item does not require emptying a pannier.
Optional comforts: a book or e-reader, camera, compact café item, extra clothing variety, and luxury toiletries can be included when capacity and handling allow. Their value depends on how much time you will spend off the bicycle and how much recovery comfort matters to you.
Leave at home duplicate tools without a clear use, multiple pairs of heavy shoes, full-size toiletries, excessive food, bulky casual clothing, and cooking equipment on an accommodation-based trip. Do not bring an item merely because it appears in someone else’s kit; route remoteness, weather, bicycle design, and mechanical skill change the answer.
Before departure, load the bicycle and ride it locally. Check that panniers cannot touch tyres, spokes, brake components, or your heels; verify rack bolts and mounting hooks; inspect tyres and brakes; test lights; charge devices; confirm bookings; and review the current ferry operator’s bicycle instructions. Move anything that affects steering or braking, and keep emergency items accessible.
Frequently asked questions
How much should I pack for a six-day bike tour?
There is no universal ideal weight or item count. An indoor-accommodation tour in mild weather can be substantially lighter than a camping trip in wet or cold conditions. Start with repair, weather, hydration, documents, medication, and enough clothing to wash and rotate, then add comfort items only after the loaded bicycle handles well.
What is the minimum bikepacking repair kit for a European cycle tour?
Carry spare tubes, patches, tyre levers, a correctly matched pump, a multitool, a compatible chain-repair option, and tape. Learn how to use each item before departure. Route remoteness, tyre size, bicycle complexity, and access to repair shops may justify extra spares, but unused equipment is not a substitute for basic practice.
Can I take a bicycle on a European ferry, and how should I pack for the crossing?
Bicycle reservation, check-in time, boarding process, luggage restrictions, packaging requirements, and bicycle storage vary by operator and sailing. Verify the current rules directly with the ferry operator before travel, and do not assume that one company’s bicycle policy applies to another.
Keep identification, booking details, valuables, medication, rain protection, and an essential warm layer accessible during bicycle ferry travel. Allow extra time for check-in and follow the operator’s instructions about where and how the bicycle is loaded. A ferry-specific check can prevent a well-packed bicycle tour from becoming a transport problem.