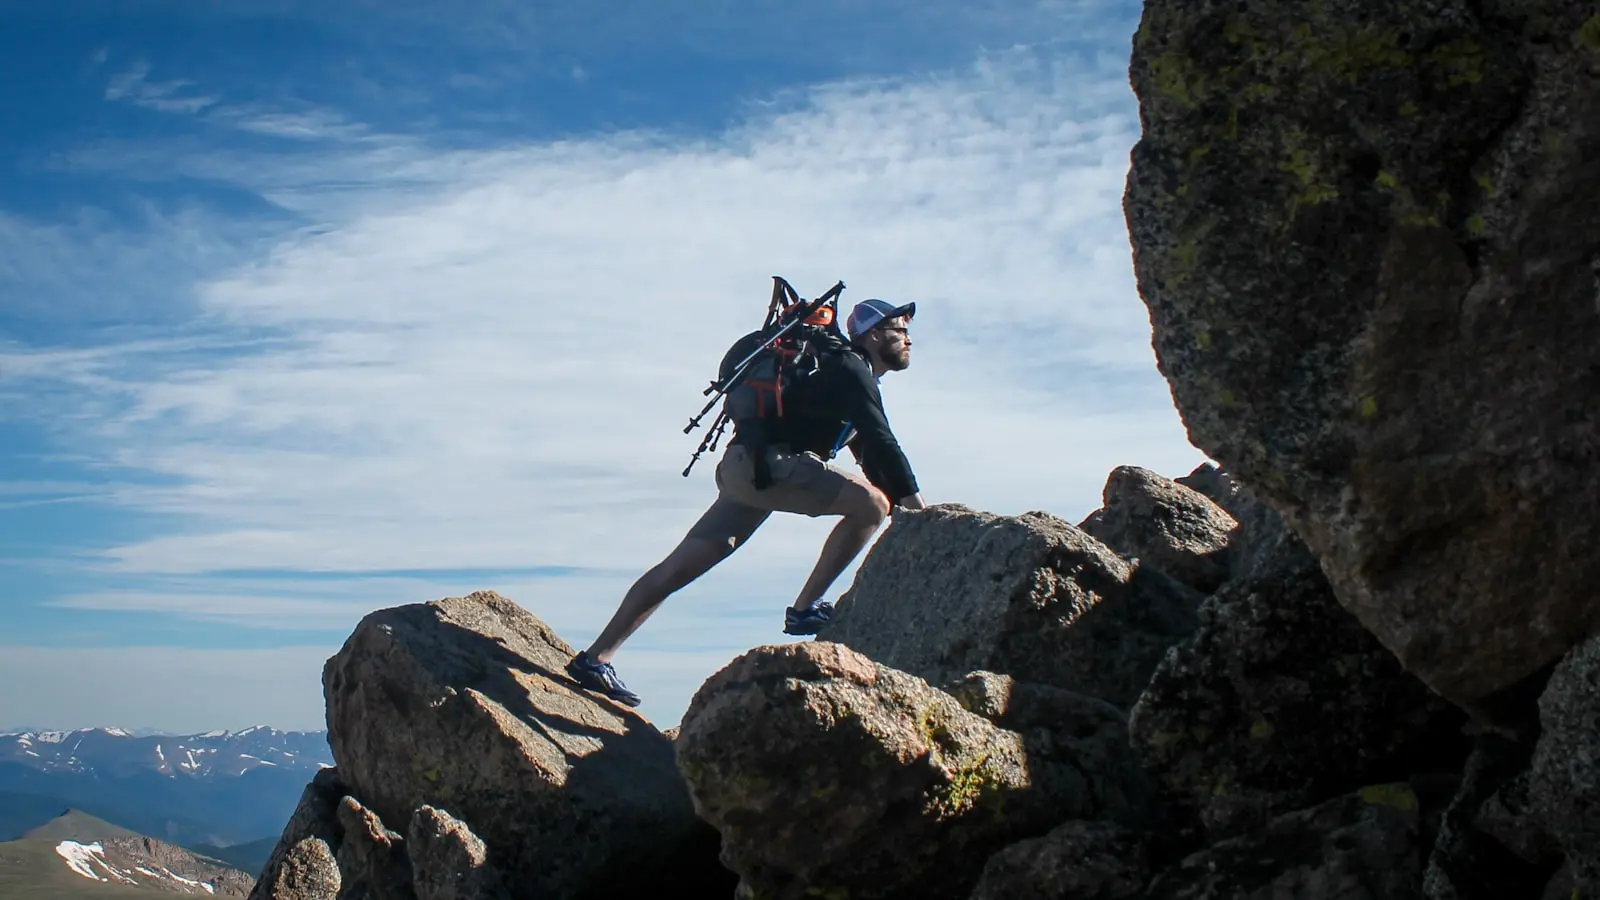
Knee pain after downhill hiking often comes from a simple mismatch: climbing asks the legs to propel the body upward, while descending asks them to repeatedly slow the body against gravity. The quadriceps work hard to control each landing, the knees bend under load, and uneven terrain makes every step less predictable.
A comfortable climb does not necessarily mean a comfortable descent. Steep grades, fatigue, a heavy pack, loose footing, and rushed steps can expose a downhill capacity gap that was not obvious on the way up.
Key Takeaways
- Downhill walking is a braking task, with the quadriceps controlling the body’s downward motion on every step.
- Shorter, deliberate steps and a sustainable pace can reduce hard braking and help preserve balance.
- Trekking poles, secure footwear, and a well-managed pack may improve control, but none is a guaranteed fix for knee pain.
- Diffuse thigh soreness can follow unfamiliar downhill effort, but sharp pain, swelling, instability, or trouble bearing weight require more caution.
Why Downhill Hiking Can Hurt More Than the Climb
Uphill walking is largely a propulsion task: the legs push the body upward. Descending is different. Gravity creates forward and downward momentum, so the body must repeatedly slow itself before the next foot lands.
The quadriceps, the muscles at the front of the thigh, play a major role in that control. During descent, they can work while lengthening as the knee bends. This is called eccentric loading. Put simply, the muscles are acting as brakes rather than shortening to create a push.
That braking work can lead to substantial quad soreness after hiking, especially after a long, steep, or unfamiliar descent. As the thighs fatigue, hikers may begin taking longer steps, landing harder, or relying too heavily on the leading leg to arrest momentum. Those changes can increase discomfort and reduce control on technical terrain.
The knee also repeatedly bends while managing body weight, pack weight, and changing forces from the trail. Pain around or behind the kneecap can occur when repeated downhill loading irritates the front of the knee area. This may resemble a patellofemoral pain pattern, but symptoms alone cannot identify a specific diagnosis.
Steepness increases the braking demand on each step. Loose stone, wet rock, roots, uneven steps, and sloping trail edges add balance demands and make foot placement less predictable. A smooth graded trail and a rocky trail with the same elevation loss may feel entirely different on the knees and thighs.
Symptoms can appear at different times. Some hikers notice knee discomfort during the descent as fatigue changes their movement. Others finish the hike feeling relatively fine, then develop thigh stiffness later that day or the next day after unfamiliar eccentric muscle work. Timing alone does not reveal the exact source of pain.
What May Be Hurting: Thigh Soreness vs. Knee Joint Pain
Diffuse tenderness across the front of both thighs, stiffness after sitting, and discomfort after an unusually demanding outing may fit a pattern of post-exercise muscle soreness. It should generally trend toward improvement with time and reduced aggravating activity rather than steadily intensify.
Downhill hiking knee pain is often more localized. Pain around, beneath, or behind the kneecap may be aggravated by stairs, squatting, or repeated downhill steps. However, prior injury, current conditioning, fatigue, movement control, anatomy, terrain, and pack load can all influence symptoms. It is more useful to watch the pattern than to self-diagnose a particular tissue problem.
Track where the pain occurs, whether it began suddenly or gradually, and whether one knee feels different from the other. Also note swelling, pain during ordinary walking or stair use, and whether symptoms improve with rest.
Soreness is not a reason to push through worsening pain. Sharp pain, pain that changes how you walk, or symptoms that escalate as the descent continues are practical signals to reduce the demand. Slowing down, shortening the route, or turning back may be safer than compensating with an awkward gait.
Downhill Hiking Technique That Reduces Braking and Loss of Control
The goal of a good hiking descent technique is controlled forward progress without long, forceful braking steps. Technique cannot remove all load from the knees, but it can reduce avoidable jolts and help maintain balance as fatigue builds.
Use shorter, deliberate steps instead of reaching far downhill with the leading foot. A long stride places the foot well ahead of the body and can turn the leading leg into a hard brake. Smaller steps keep the body closer over the feet and allow both legs to share the work more naturally.
Keep the torso controlled rather than allowing it to pitch downhill. This does not mean leaning far back, which can make balance awkward. Aim to move with the slope while keeping your center of mass stable and your eyes scanning several steps ahead.
Place feet intentionally on stable surfaces. On loose, wet, or rocky sections, reduce speed before entering the difficult area rather than reacting after a slip. Use the safest available line without cutting switchbacks or damaging the trail edge.
Avoid locking the knees, but do not hold an exaggerated deep crouch either. A comfortable knee bend can help absorb terrain changes, while a permanently low stance can tire the quadriceps quickly. Choose a cadence that feels relaxed, controlled, and repeatable for the full descent.
Take brief pauses before form deteriorates. Stopping at a stable point can restore attention and give the thighs a chance to recover. It is often more effective than rushing toward a trailhead, junction, or viewpoint while foot placement becomes less precise.
When Trekking Poles, Footwear, and Pack Weight Can Help
Trekking poles downhill can add points of contact and support balance, particularly on long or uneven descents. Used well, they may allow some upper-body assistance and make it easier to steady yourself while selecting a line. They are tools for stability and load management, not guarantees against knee pain or falls.
Adjust pole length for the descent in a way that feels secure and practical, then plant poles on stable ground before transferring meaningful weight onto them. Practice first on easier trails. On narrow ledges, dense rock, or scrambling terrain, poles can snag, interfere with handholds, or distract from foot placement; stow them when they create more risk than benefit.
Footwear matters mainly through fit, traction, and stability. Shoes or boots should hold the foot securely, have tread suited to expected conditions, and be broken in before a demanding trip. A heavier or stiffer boot is not automatically better for every hiker, and no footwear choice can compensate for rushed steps or terrain beyond your current ability.
Pack weight increases the mass controlled during every braking step. Carrying only necessary gear can make a long descent more manageable, while keeping heavier items close to the body can reduce excessive shifting. There is no universal safe pack-weight percentage for every hiker, route, or fitness level.
Before committing to a route, check official trail information for elevation loss as well as elevation gain. Distance alone can hide a demanding descent. Surface conditions, weather exposure, technical sections, and exit options can all affect whether a hike is suitable for your current downhill tolerance.
Build Descent Tolerance and Know When to Stop
A strong uphill engine does not automatically create descent tolerance. A practical approach is gradual exposure: start with manageable downhill volume, then increase steepness, distance, technicality, or pack load progressively rather than changing all of them at once.
General lower-body strength and balance work may help prepare hikers for future trips by improving control and capacity. It is not a replacement for assessment or individualized treatment when an acute injury is possible. Equipment can support a sound plan, but it cannot erase a major mismatch between route demand and current readiness.
Reassess early during the hike. If pain changes your gait, coordination, or willingness to place the foot normally, reduce the objective. A shorter loop, a slower exit, or turning back is often the better decision than turning a manageable warning sign into a fall risk.
After an overloading hike, relative rest and avoiding another aggravating descent until symptoms are settling is a cautious approach. Repeatedly testing painful downhill movement may prolong irritation. Persistent or unclear symptoms are best assessed by a qualified clinician rather than managed solely through general hiking advice.
Seek timely medical assessment for inability to bear weight, marked swelling, visible deformity, knee locking, giving way, or significant instability. A pop associated with immediate swelling, numbness, fever, redness or warmth, severe or escalating pain, or symptoms that are not improving also warrant medical advice.
FAQ: Knee Pain After Downhill Hiking
Why do my knees hurt going downhill but not uphill?
Downhill movement requires repeated braking and knee bending, while uphill movement emphasizes propulsion. The quadriceps must control the body’s downward motion, and a long or steep descent can reveal a capacity gap that the climb did not. The exact cause of pain cannot be diagnosed from this pattern alone.
Do trekking poles help with downhill hiking knee pain?
They can help with balance and may make load management feel more controlled when they are planted securely and used with good technique. They do not replace shorter steps, realistic pacing, or attention to terrain, and they should be stowed when they interfere with scrambling or safe hand use.
How long should quad soreness after hiking last?
Post-exercise soreness often begins to ease over several days, but recovery varies with the size and novelty of the descent, overall training load, sleep, and individual factors. Worsening pain, major weakness, swelling, altered walking, or symptoms that do not improve deserve professional assessment rather than a rigid wait-and-see timeline.