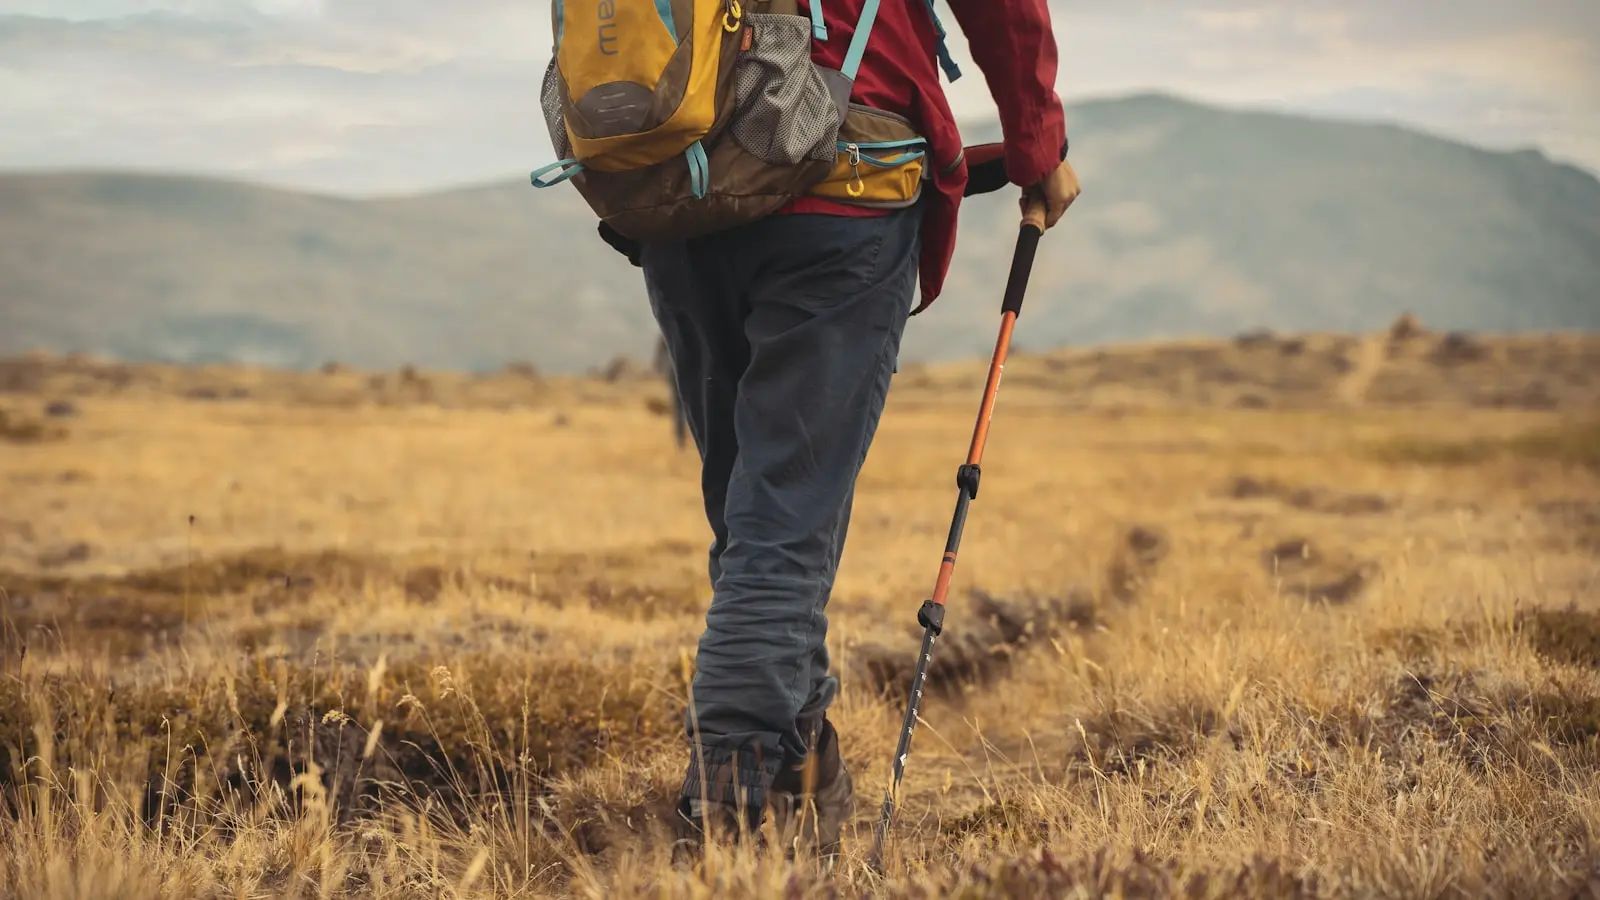
Trekking poles downhill are usually worth carrying when a route includes long, steep, loose or fatigue-heavy descents. They add two potential points of contact, help hikers assess balance before committing to a step and can shift some support through the upper body.
They are not a cure for knee pain or a solution for hazardous terrain. Footwear traction, controlled pacing, leg strength and sound route judgment still determine whether a descent is safe and comfortable.
Key Takeaways
- Trekking poles are most useful on sustained, steep or uneven descents, especially with a heavier pack or tired legs.
- Poles may reduce perceived strain for some hikers, but they do not guarantee pain relief, prevent injury or make unstable ground safe.
- Start with elbows near a right angle on level ground, then lengthen adjustable poles modestly for long downhills.
- Plant poles close to the body, use short controlled steps and stow poles whenever reliable handholds are needed.
- Telescoping poles offer the most terrain adjustment; folding poles prioritize packability, while fixed-length poles offer less flexibility.
When trekking poles help on steep downhills—and what they cannot fix
The main trekking pole benefit is straightforward: two poles create extra contact points. On a rough descent, a hiker can plant a pole, check that it is stable and then step with more support than feet alone provide.
That advantage matters when the trail demands frequent small corrections. Loose dirt, uneven rock, wet roots, sustained steep grades and tired legs all make minor balance losses harder to recover from. A loaded pack can further shift the body downhill and make controlled movement more demanding.
Do trekking poles help knees? They may help some hikers feel less strain by allowing the arms and upper body to share part of the support during a descent. They can also encourage a more upright, deliberate walking pattern. Neither benefit guarantees knee-pain relief, injury prevention or protection from the cumulative stress of a long downhill.
Knee discomfort can reflect fatigue, prior symptoms, steepness, pace, foot placement and total hiking time. Poles cannot compensate for poor traction, make slick rock dependable or correct a badly chosen step after weight has already shifted onto it.
The practical question is whether poles solve a problem you actually have. If you often feel rushed, unstable or overloaded on descents, they are likely worth the pack space. On short, smooth and gradual trails, they may add more gear management than meaningful support.
Set up trekking poles downhill with the right length and straps
Begin hiking pole sizing on level ground. With the tip beside your foot, adjust each pole so your elbow sits roughly near a right angle. Treat that setting as a baseline rather than a fixed prescription because arm length, posture, pack weight and pole design all affect the best fit.
For a longer downhill, adjustable poles are commonly lengthened by about 5 to 10 cm, or 2 to 4 inches, from the level-ground setting. The goal is to remain upright and plant naturally rather than bending forward to reach the trail.
Test the setting before a major descent. Poles that are too short can encourage hunching; poles that are too long can land far ahead of the body and leave the arms feeling locked out. Small adjustments are usually more useful than chasing an exact measurement.
Traverses need a different setup. Shortening the uphill-side pole and lengthening the downhill-side pole can help keep shoulders and hips more level across a slope. Adjust gradually according to the angle and how naturally each pole reaches the ground.
Wrist straps should transfer support through the heel of the hand instead of requiring a constant tight grip. Put your hand up through the bottom of the strap loop, let the strap settle beneath the heel of your hand, then close your hand around the grip.
Do not treat straps as mandatory in every situation. Loosen them, change your grip or remove your hands when a pole could snag, when a fall could make attachment unhelpful or when the route is about to require secure handholds.
Downhill hiking technique without leaning on the poles
Effective trekking poles downhill support a walking rhythm rather than acting as crutches. A simple pattern is to move the opposite pole with each foot: left pole with right foot, then right pole with left foot. This keeps the movement natural and reduces the chance of crossing the poles in front of the body.
Keep each plant close enough to support the next step without pulling your torso forward. Planting poles too far ahead is a common mistake because it encourages overreaching, stiff arms and a forward lean. That can reduce balance when the goal is to improve it.
Use short steps, soft knees and a tall but relaxed posture. Scan a few steps ahead instead of staring only at your feet, then choose stable landing surfaces deliberately. On loose terrain, slowing down often improves control more than pressing harder into the poles.
Alternating plants work well for normal downhill travel. For one high step, an awkward rock move or a slippery transition, place both poles deliberately, establish support and then step through. Use two-pole bracing as a specific tool, not as a way to hang continuously from the handles.
Before descending, check that adjustable locks are secure and folding poles are fully assembled. Keep tips low and controlled around other hikers, leave adequate spacing in groups and stow poles before ladders, fixed cables, scrambling or any move requiring dependable handholds.
A short local practice routine can make poles more useful on a major trek:
- Find a gentle hill and walk downhill at baseline pole length with slow, short steps.
- Lengthen the poles slightly and compare whether your posture stays upright and plants remain natural.
- Practice the opposite pole-and-foot rhythm until it no longer needs conscious timing.
- Use controlled two-pole support for one larger step, then return to alternating movement.
- Practice folding or securing poles at the side of the trail, not while standing in an exposed or hazardous spot.
- Progress to steeper terrain only when planting, strap use and stowing feel automatic.
Choosing pole styles for mountain hiking gear needs
Telescoping poles are often the most adaptable choice for varied mountain terrain. They can be shortened for climbs, lengthened for descents and adjusted side to side on traverses. Check packed length, locking-system operation and whether the poles are easy to adjust with tired hands or gloves.
Folding or collapsible poles prioritize packability. They can fit more easily in a daypack and are convenient when poles will be used only on selected trail sections. Depending on the model, they may have a smaller adjustment range than telescoping poles and require careful assembly and locking checks.
Fixed-length poles are simple and can work well for hikers who know their preferred setup and rarely need to pack them away. Their limitation is clear on changing terrain: they cannot be lengthened for a steep descent, shortened for an ascent or readily adapted for another user.
Material choices should be assessed by model rather than broad assumptions. Carbon and aluminum poles can differ in weight, price, feel and response to impact, but construction quality and intended use matter just as much. Review manufacturer instructions for care, compatible parts and replacement options.
Tips and baskets affect performance on different surfaces. Carbide tips may grip natural ground, while rubber covers can be useful on hard surfaces where appropriate. Baskets can limit sinking in soft ground or snow. Check destination-specific rules before using poles on protected or sensitive terrain.
When poles are more hassle than help
Some terrain calls for poles to be packed away. Scrambling, boulder moves, ladders, fixed cables and routes with frequent handholds all require free hands. Managing poles in those moments can distract from the movement that matters most.
Dense brush and narrow, crowded trails can also make poles inconvenient. Tips may catch vegetation, interfere with nearby hikers or force attention onto gear clearance instead of footing. Frequent stops for maps, photos, drinks or clothing changes can make deployed poles feel inefficient.
Poles have logistical costs even when they are useful. They add carry weight, create noise on hard paths, need storage during transport and can snag on a pack if not secured properly. A hiker who dislikes managing them may leave them stowed when they would otherwise help.
A practical rule is to bring poles when the route has sustained elevation loss, variable footing, a heavier load or a history of downhill discomfort. Leave them behind, or carry them folded, when the trail is short and smooth or when hands-free movement is the priority.
The broader downhill system still matters more than any single piece of mountain hiking gear. Supportive footwear with suitable traction, patient pacing, hydration, fatigue management, route choices and strength and balance practice all contribute to a better descent. Poles can improve that system, but they cannot replace it.
FAQ: Trekking poles downhill
Do trekking poles help knees on downhill hikes?
They may help some hikers feel less strain by adding support and allowing some work to be shared through the upper body. They do not guarantee knee-pain relief, prevent injury or solve the underlying causes of persistent pain.
How much longer should trekking poles be for downhill hiking?
A common starting range is about 5 to 10 cm, or 2 to 4 inches, longer than a level-ground setting. Fine-tune from there based on slope angle, posture, pack weight, arm length and comfort.
Are trekking poles worth carrying for a day hike?
They are most worth carrying when a day hike includes long or steep descents, uneven surfaces, a loaded pack or a need for more confidence on the trail. For brief, smooth descents, the inconvenience of carrying and stowing them may outweigh the benefit.