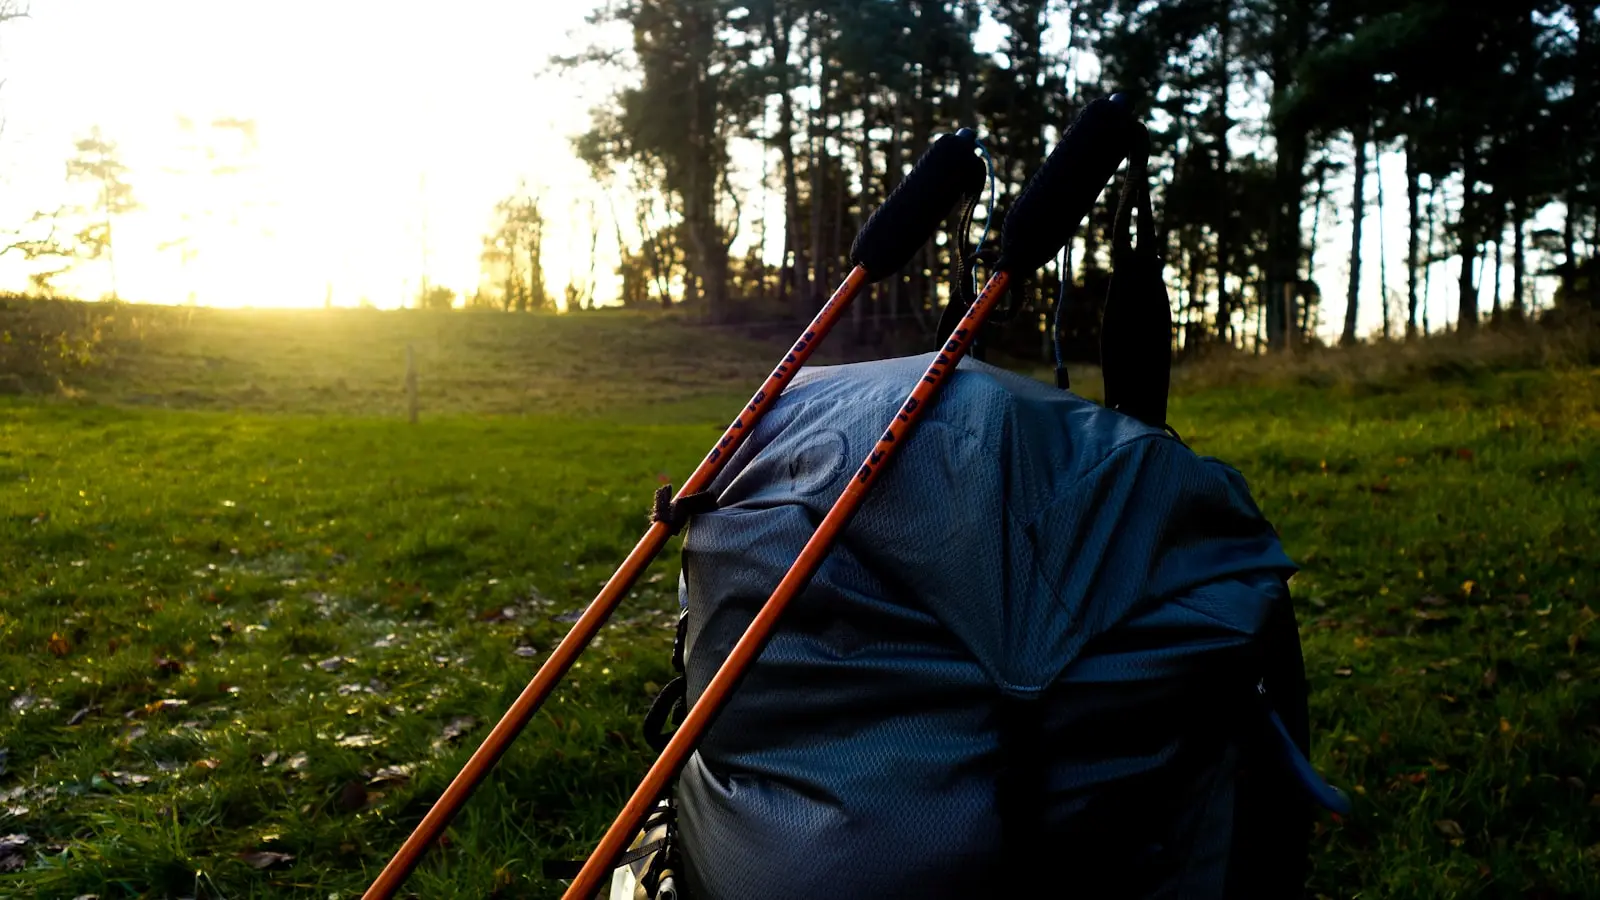
Trekking poles downhill can make steep trails feel more controlled by adding support points for balance and letting the upper body share some of the work. They cannot erase the repeated demands that descents place on the legs, knees, and feet. Good pole fit and deliberate foot placement matter as much as carrying the poles.
Poor technique can create a different problem: sore wrists, tight shoulders, a strained neck, or a pole that blocks the next step. Use poles as adjustable supports, not as crutches that replace careful movement.
Key Takeaways
- Trekking poles may improve balance and share some demand on a descent, but they do not guarantee less knee pain or prevent injury.
- Set a comfortable baseline on level ground, shorten poles for climbs, and lengthen them modestly for sustained descents.
- Use wrist straps to support the palm so you can hold the grips lightly rather than squeezing them.
- On loose or technical terrain, prioritize secure foot placement over a fixed pole rhythm.
- Stow poles when they interfere with scrambling, handholds, or safe movement.
What trekking poles downhill can—and cannot—do
Each pole adds a potential contact point with the ground. On an open, uneven descent, that can give you more options for maintaining balance, managing body position, and slowing down without relying entirely on one leg at a time. A secure pole plant may also allow some force to be shared through the arms and upper body.
That does not remove the main physical challenge of downhill walking. With every step, the leg muscles must control the body as it lowers. Long descents can heavily fatigue the thighs, and that fatigue can make posture, braking, and foot placement less precise.
Pole use can change how a hiker distributes effort, but the result varies. Trail grade, surface, pack weight, gait, pole length, confidence, and technique all influence whether poles feel helpful. A change in loading or perceived effort does not automatically mean less pain or lower injury risk.
Downhill hiking knee pain can also be affected by factors poles cannot solve: a sudden increase in hiking volume, inadequate descent conditioning, a heavy pack, poor-fitting footwear, an aggressive pace, or a previous injury. Think of poles as one part of a controlled descent strategy, not as equipment that guarantees a pain-free hike.
Set up hiking pole fit before the trail gets steep
Start with a level-ground setup. With the pole tip planted near your foot, adjust the grip height so your elbow is comfortably bent at about a right angle. This is a useful starting point, not a rigid measurement that overrides comfort.
If your shoulders rise toward your ears, the poles may be too long for the terrain. If you need to crouch, bend deeply, or let your hands hang uncomfortably low, they may be too short. The best hiking pole fit lets your shoulders stay relaxed while your elbows remain softly bent.
For sustained climbs, hikers generally shorten their poles. This helps prevent the hands from being pushed too high as the trail rises ahead. For sustained descents, lengthen the poles modestly so they can reach lower ground without forcing you to bend at the waist or reach through the shoulders.
Make smaller changes on rolling trails, where constant adjustment may be distracting. On a side slope, independently adjustable poles can help: shorten the uphill pole and lengthen the downhill pole as needed to keep both arms working in a comfortable range.
Before descending, check the pole sections, locks, tips, baskets, and straps. Make sure adjustable sections are within the maker’s stated extension limits and that the locking mechanism is secure. A pole that slips or collapses under pressure can turn a routine step into a sudden loss of balance.
Use a downhill trekking pole technique that supports rather than strains
Effective downhill trekking pole technique starts with the feet. Choose a secure place for the next step, identify stable ground for the poles, then use light-to-moderate pressure as your body moves downhill. The poles should support your position and balance, not pull you down the trail.
Keep pole plants close enough to avoid reaching. Planting far ahead can elevate the shoulders, stiffen the upper body, and place a tip in the path of the next footstep. It can also encourage you to lean forward or pull against the poles instead of controlling the descent through the legs.
Keep your elbows soft rather than locked. A small bend allows the arms to absorb minor changes when a tip lands on hard ground or catches between rocks. Locked elbows can send that jolt more directly into the wrists, shoulders, neck, and upper back.
Use the wrist straps to reduce grip pressure. Bring your hand up through the bottom of the strap, let the strap sit across the base of the palm, then close your hand lightly around the grip. This lets the strap and palm share downward pressure instead of forcing the fingers to do all the work.
A tight grip is a common cause of forearm and wrist discomfort. If your fingers ache, your forearms feel tense, or your shoulders start to creep upward, loosen your grip, check the strap position, shorten your reach, and reduce how hard you are pressing through the poles.
On smooth, open ground, an alternating left-right rhythm can be efficient. On loose gravel, wet rock, roots, mud, or uneven steps, do not force the rhythm. Slow down, shorten your stride, and place each foot deliberately. Sometimes both poles should be planted before one cautious step; other times, one stable pole offers more value than trying to place two quickly.
Match pole use to steep trail stability and changing hazards
Poles help only when the tips land on a surface that can hold. On loose gravel, mud, wet rock, snow, roots, or stream crossings, test the intended pole plant before committing meaningful weight to it. A tip that skates, sinks, wedges, or lands on a rolling stone is not dependable support.
Avoid fully weighting poles on slick rock, unstable stones, soft vegetation, or narrow gaps where a tip may jam. If a pole catches while your body keeps moving downhill, it can cause a wrist jolt, a shoulder tug, or a loss of balance.
On steep steps, keep pole placement clear of the next foot location. A plant that blocks the line of travel can become a tripping hazard, especially on narrow trails. The safest pattern is not always symmetrical; the useful plant is the one that leaves room for the next controlled step.
There are times when poles should be stowed rather than used. Put them away for scrambling, fixed handholds, dense brush, tight rock corridors, or any situation where both hands are needed for balance and protection. Trying to manage poles while relying on handholds can make a small slip harder to recover from.
Tips and baskets can suit particular surfaces, but accessories cannot make an unstable plant reliable. If the terrain is too loose, cramped, or awkward for confident pole use, slow down, change your movement plan, or stop using the poles temporarily.
Reduce downhill knee stress with pacing, preparation, and sensible decisions
A controlled descent is usually more useful than an aggressive one. Shorter steps can reduce the urge to brake heavily at the end of each stride, while a moderate pace gives the legs and feet more time to respond to changing ground. Take a break before form deteriorates rather than waiting until fatigue turns every step into a recovery.
Uphill fitness does not fully prepare the body for long descents. Descending places a different demand on the legs, so build exposure gradually before a route with sustained elevation loss. Plan for the descent as a meaningful part of the day, not as an easy finish after the climb.
Footwear that fits well may help you feel more secure, but neither shoes nor poles can compensate for severe fatigue, unsuitable conditions, poor route choices, or a pack that compromises balance. Slowing the group, choosing a less steep option, or turning around can be the safest decision.
Use a quick stop-and-adjust check when upper-body discomfort starts. If your wrists, shoulders, neck, or upper back ache, ease the grip, relax the shoulders, shorten the reach, reassess pole length, and reduce your pace. Persistent discomfort is a reason to adjust the setup, not to push harder through the poles.
Ordinary muscle fatigue can follow a demanding descent, but some symptoms need professional assessment. Seek care after a fall or twist if you cannot bear weight, have marked swelling, visible deformity, locking or giving way, numbness, fever, severe pain, or pain that is recurrent or does not improve with appropriate rest. Those symptoms cannot be safely explained by pole technique alone.
FAQ
Do trekking poles reduce knee pain when hiking downhill?
They may help some hikers feel steadier and may share a portion of the work when planted well, but they do not reliably eliminate downhill hiking knee pain. Fatigue, slope, pack weight, footwear, training history, prior injury, and pace can all affect symptoms.
How much should I adjust trekking pole length for descents?
Start from a level-ground setup with comfortably bent elbows, then lengthen the poles modestly for a sustained descent. The right adjustment lets you plant near your body without hunching or reaching. When terrain changes often, use smaller adjustments or choose a safe, comfortable compromise.
Can trekking poles cause wrist or shoulder pain?
Yes. Tight gripping, locked elbows, far-ahead plants, shrugged shoulders, and hard pushing through the poles when fatigued can all create discomfort. Correct strap use, relaxed shoulders, soft elbows, and closer pole plants reduce those risks; stop forcing the technique if pain is sharp or persistent.