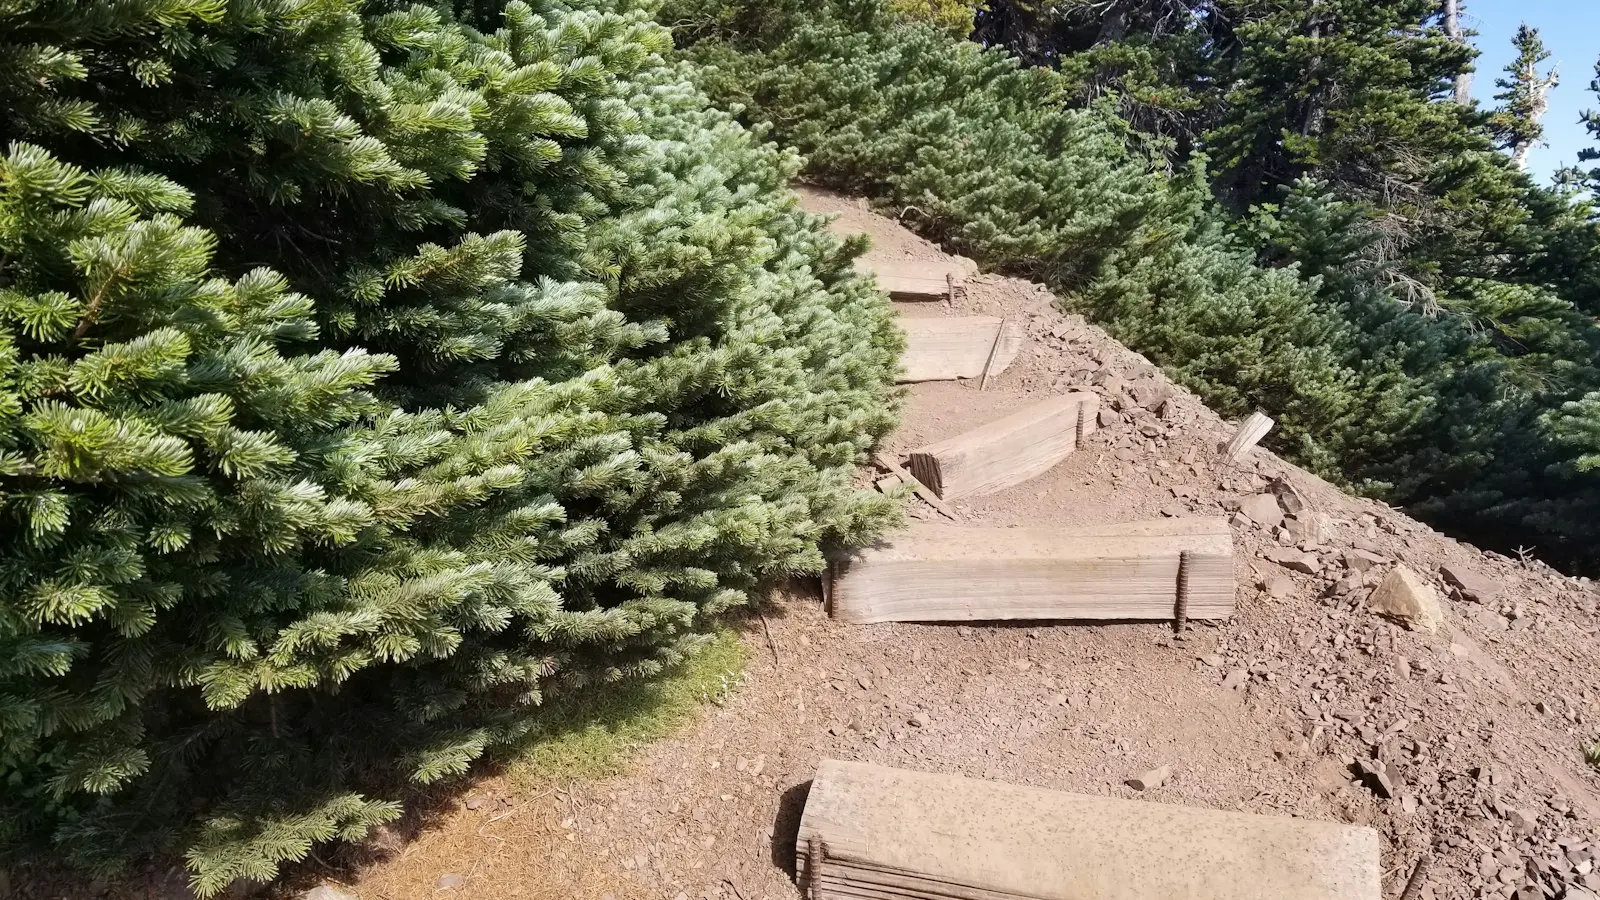
A practical plan for training for hilly walking combines progressively longer walks, short uphill efforts, basic lower-body strength, and practice with your actual shoes and daypack. Four weeks can establish a better base, but it cannot guarantee readiness for every route, especially if the itinerary includes steep descents, altitude, heat, uneven ground, or several demanding days in a row.
The aim is not to train like a competitive trail athlete. It is to make the hardest sightseeing day familiar enough that your legs, feet, and breathing are not handling every demand for the first time.
Key Takeaways
- Use the hardest planned sightseeing day—not the average day—as your main training reference.
- Progress walking time, hills, stairs, and pack weight gradually rather than chasing exhaustion.
- Combine outdoor walks with treadmill inclines, stairs, step-ups, and controlled lower-body strength when needed.
- Test your shoes, socks, poles, and daypack before departure, and taper during the final week.
- Stop or seek medical advice for sharp, worsening, gait-changing, or otherwise concerning symptoms.
1. Translate the Itinerary Into Training Demands
Start with the itinerary rather than a generic workout plan. For each day, estimate how much time you may spend walking, how often you will climb, whether stairs are involved, and how many active days occur consecutively. A palace-ground visit may involve mostly firm paths but many short climbs, while a waterfall, cliff, glacier, or national-park route may combine uneven footing, longer ascents, and a demanding return journey.
Distance alone can be misleading. A route with frequent stairs may be more tiring than a longer flat walk, and a downhill-heavy day can challenge the thighs and knees differently from climbing. Note whether the day includes public transport, rest stops, or opportunities to shorten the route. The hardest planned sightseeing day—not the average day—should guide your preparation.
Also list conditions you cannot reproduce perfectly at home: hot or cold weather, wet surfaces, altitude, poor visibility, loose gravel, and a backpack containing water, clothing, snacks, or camera equipment. These factors can increase effort even when the route looks manageable.
Use the itinerary to choose a starting level:
- Beginner: If most recent activity has been short, flat walking, begin with comfortable sessions and modest increases. Consistency and recovery matter most.
- Regular walker: If you already walk several times a week, add inclines, brisk intervals, and one longer outing without making every session hard.
- Experienced hill walker: If hills are familiar, rehearse consecutive active days and the likely footwear and pack demands while still allowing recovery.
Itinerary information is never perfect. A closed path, heat wave, crowded stairs, or unexpected detour can make a day harder, so prepare for effort rather than trying to match an exact distance or elevation figure.
2. Follow a Four-Week Progression for Hilly Walking
This flexible travel fitness plan assumes you have no acute injury and can walk comfortably. It uses effort cues rather than universal pace, mileage, or stair targets. On an easy session, you should be able to speak in full sentences. A moderate session may shorten conversation but should remain controlled. Hard efforts are optional and should not become maximal tests.
Week 1: Establish a baseline. Complete two or three comfortable walks, including one slightly longer outing at an easy effort. Add one brief brisk-walking session on a flat route or gentle incline. Perform light strength work once or twice, focusing on controlled movement rather than fatigue. Notice how your feet, calves, knees, and hips feel later that day and the following morning.
Week 2: Add time and moderate inclines. Keep at least one easier or rest day between demanding sessions. Extend one walk modestly and include short uphill intervals, recovering with easy walking on level ground or downhill. The effort should be repeatable; if breathing becomes difficult to control or form deteriorates, reduce the incline or stop the interval.
Week 3: Rehearse the trip. Complete one longer walk or hill session in the shoes you expect to wear. If your body has handled the earlier weeks well, practice two manageable active days close together. The second day should not be a punishment session. It is an opportunity to learn how your legs and feet respond when they are not completely fresh.
Week 4: Consolidate and taper. Early in the week, keep easy movement and perhaps one short, familiar session with a few moderate inclines. Reduce total walking and strength volume as departure approaches. Do not make up missed sessions with a long climb, heavy leg workout, or repeated stair efforts.
Beginners should reduce duration, incline, or the number of active days if they have been inactive for a long time. Someone returning from an injury or dealing with persistent soreness should progress more conservatively and consider individualized clinical guidance. More training is not automatically better if it leaves you unable to complete the next session.
3. Build Uphill Capacity Without a Hill
Outdoor hills are the most specific option because they combine climbing, changing gradients, surface variation, weather, and descent. If hills are unavailable, treadmill incline walking, stairs, step-ups, and brisk flat-walking intervals can still contribute to walking uphill training.
A treadmill lets you control the incline and maintain a steady rhythm. Start with a comfortable incline and use short efforts separated by easy walking. Stairs provide a stronger climbing stimulus in a small space, but they may feel more intense than a gradual hill and usually offer less practice with uneven footing. They also do not fully prepare the legs for descending.
Step-ups are another practical option. Use a stable platform at a height that allows controlled movement, place the whole foot securely, and drive through the working leg. Hold a rail or reduce the step height if balance or control is uncertain. Do not turn the exercise into a speed contest.
Flat walking can help when combined with brief brisk intervals. This is less specific than an incline, but it can build tolerance for changing effort without requiring a dangerous slope. No substitute perfectly reproduces a destination route, so combine indoor work with outdoor walking when possible.
Downhill practice deserves caution. Descending can place a different demand on the front of the thighs and may aggravate symptoms in people who tolerate climbing better than going down. Practice only on a safe, predictable surface with good visibility and controlled steps. Avoid wet, loose, or crowded slopes, and stop when posture or foot placement becomes unreliable.
4. Add Strength, Footwear, and Load Practice
Strength sessions support walking tolerance, but they do not replace longer walks on hills or uneven surfaces. Begin with body weight and a manageable number of repetitions. Useful movements include calf raises, sit-to-stands or squats, step-ups, split-stance exercises, and controlled heel-lowering variations. A supported plank variation can complement lower-body work.
Move slowly enough to maintain alignment and control. The goal is repeatable practice, not severe soreness. If an exercise consistently provokes symptoms, remove it rather than assuming discomfort means it is working.
Practice with the equipment you will carry. Walk in the shoes and socks planned for travel, and increase pack weight gradually. Include items you genuinely expect to carry, such as water, a light layer, and camera equipment. A heavy bag can change posture and increase fatigue, so do not wait until the first sightseeing day to discover that the straps, fit, or weight distribution are unsuitable.
Shoes should fit securely without creating pressure points, and socks should not bunch or remain damp against the skin. Supportive footwear can help, but a stiff or heavy pair may require an adjustment period. Test new shoes well before departure rather than relying on them for the first time on a steep route. Address hot spots early; a small area of rubbing can become a major limitation after hours of walking.
Trekking poles are optional. They may help with balance and provide confidence on selected descents, but they require coordination and do not remove the need to watch the surface. Practice on easy terrain first, learn to adjust the length, and do not rely on poles as a substitute for stable footing or appropriate pacing.
5. Recover, Taper, and Recognize When to Stop
Recovery is part of hiking trip preparation. Schedule easy days between harder hill, stair, or long-walk sessions, and protect sleep where possible. Normal training fatigue should gradually settle with rest. Mild muscle soreness after an unfamiliar session can occur, but it should not steadily worsen or alter how you walk.
Stop or reduce the provoking activity if you develop sharp, localized, escalating, or gait-changing pain. Persistent swelling, significant loss of movement, or symptoms that do not improve with rest deserve medical advice. Chest symptoms, faintness, unusual shortness of breath, or a suspected acute injury are not normal conditioning problems and require prompt attention.
During the final week, reduce volume while keeping some easy movement. Avoid new exercises, unfamiliar shoes, heavy pack tests, and long hard climbs. A useful readiness check is to complete a representative walk in your planned footwear with a realistic daypack, then confirm that you recover normally and do not develop concerning symptoms.
People with a previous injury, chronic condition, substantial deconditioning, or uncertainty about safe exercise should seek individualized guidance before increasing training. General preparation can provide a framework, but it cannot account for every medical history or destination risk.
FAQ: Training for Hilly Sightseeing Trips
How many weeks should I train before a hiking vacation?
Four weeks can provide a useful starting framework, particularly if you begin gently and train consistently. More time allows you to increase walking duration and hill exposure more gradually, which may be preferable after a long break or previous injury. Four weeks will not make every traveler ready for any route, so adjust the itinerary or plan additional rest if preparation reveals a mismatch.
Can stair training replace walking uphill outdoors?
Stairs can reproduce repeated climbing and raise session effort, making them useful when hills are unavailable. They do not fully reproduce uneven footing, gradual slopes, outdoor weather, or downhill loading. Combine stair training with outdoor or treadmill walking when possible, and keep the stair effort controlled rather than maximal.
What should I do if my knees, calves, or feet hurt during preparation?
First, reduce or stop the activity that provokes the symptoms and assess whether your movement has changed. General fatigue that settles with recovery is different from sharp, worsening, localized, or gait-changing pain. Persistent symptoms, swelling, or uncertainty about an existing condition warrant appropriate medical advice rather than a tougher workout.
A successful plan for training for hilly walking is not the one that produces the most exhaustion. It is the one that progressively exposes you to walking time, climbing, equipment, and consecutive activity while leaving enough recovery to arrive at your trip rested and confident.