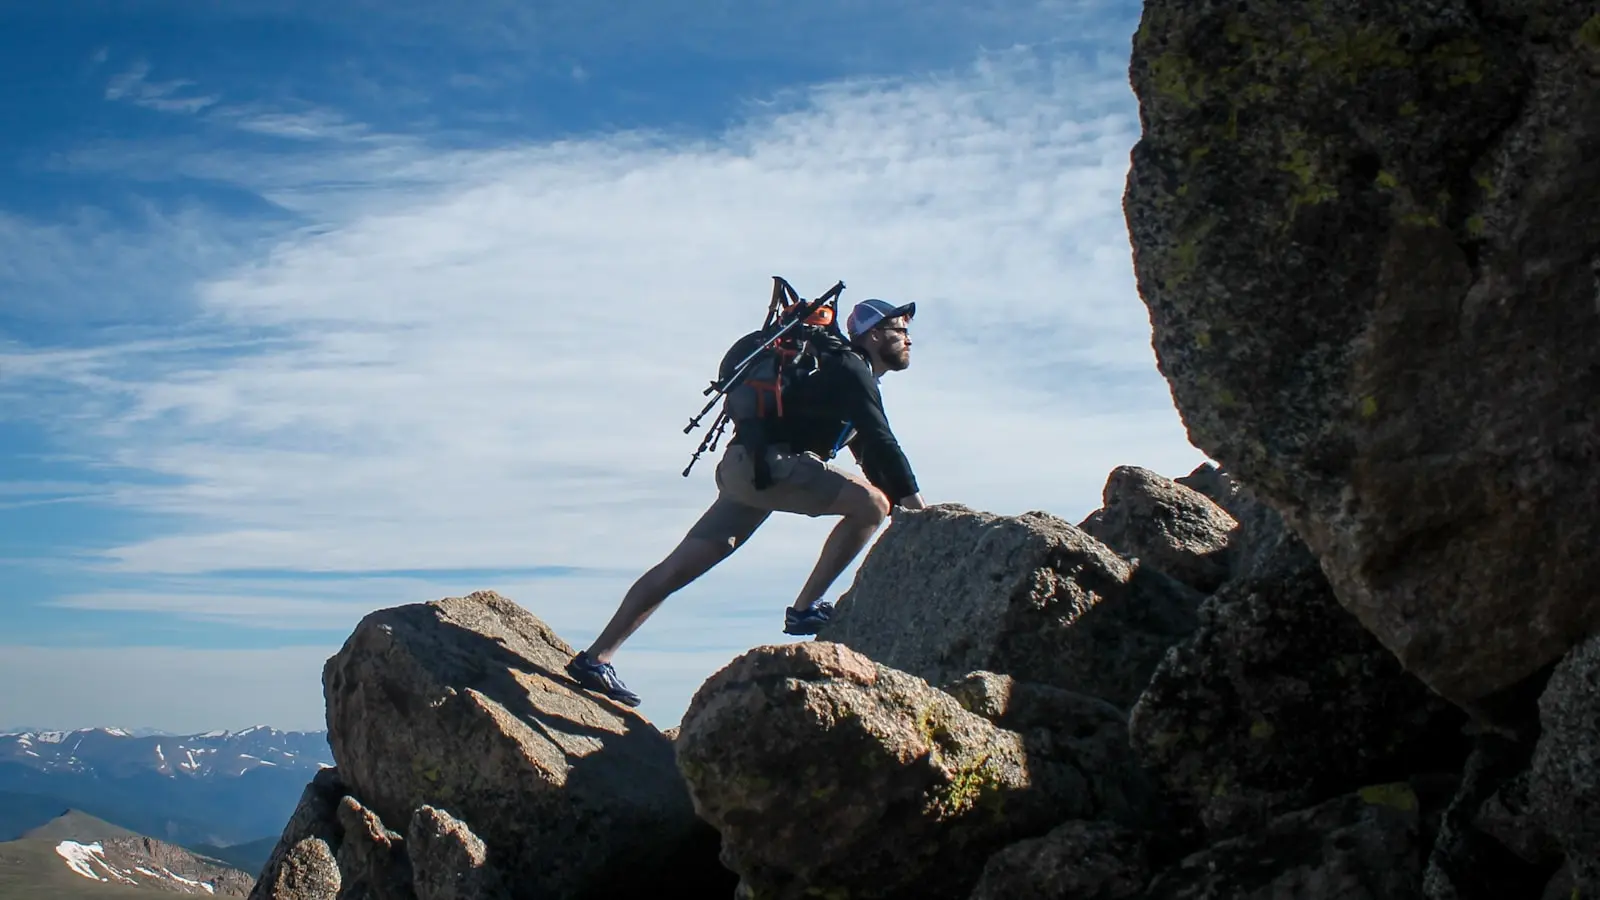
To train for mountain hiking, progress from regular walks to longer outings, hills, controlled descents, and light pack practice. The key is specificity without overload: steep terrain, uneven trails, and a loaded backpack prepare you for the trip, but adding them all at once can create soreness that disrupts training.
A week of mountain hiking is more than a cardio test. You need aerobic endurance for hours on the move, leg strength for climbs and descents, balance for uneven ground, pack tolerance, and enough recovery capacity to hike again the next day.
Key Takeaways
- Build from consistent walking to longer walks, then add hills, downhill practice, and pack weight gradually.
- Change one major training variable at a time: duration, elevation, pace, terrain difficulty, or load.
- Train descents deliberately with controlled lowering, shorter steps, and realistic pacing; they can be more tiring than climbs.
- Use longer walks to test footwear, socks, layers, food, hydration, and pack fit before departure.
- Fitness helps you move efficiently at altitude, but it does not replace acclimatization, conservative pacing, or current local safety guidance.
Start With Your Trip Demands and a Safe Baseline
Before you train for mountain hiking, define what the trip will actually require. Consider daily time on feet, elevation gain and loss, surface conditions, weather, sleeping altitude, and the approximate pack weight you expect to carry. A route with modest daily distance can still be demanding when it is steep, rocky, wet, or high above sea level.
Your baseline matters more than an ambitious schedule. Note how often you currently walk, the longest walk that feels comfortable, and how your feet, knees, hips, calves, and back feel during and afterward. Consider how you handle stairs or moderate inclines, too.
Mountain hiking combines several related but distinct capacities:
- Aerobic endurance supports sustained easy-to-moderate movement over hours.
- Leg and hip strength helps with climbing, posture, and carrying a pack.
- Downhill control requires the thighs, calves, hips, feet, and trunk to repeatedly slow the body.
- Balance and ankle control matter on rocks, roots, loose ground, and tired legs.
- Pack tolerance helps prevent the load from becoming the limiting factor.
- Recovery capacity determines whether one demanding day affects the rest of the trip.
If ordinary walks already cause significant fatigue, joint symptoms, or lingering soreness, begin with manageable walking on easy terrain. There is little value in adding stairs, heavy packs, or hard intervals before basic walking volume feels routine.
Acute pain, chest symptoms, dizziness, fainting, unusual shortness of breath, or a major health condition require individualized advice from a qualified clinician rather than a generic training plan. Training should build usable capacity, not test your ability to ignore warning signs.
Build a Flexible Beginner Hiking Fitness Plan in Stages
A useful beginner hiking fitness plan is progressive but flexible. You may move through these stages steadily, repeat one for longer, or reduce the challenge after a demanding week. The goal is to arrive healthy enough to enjoy the trip, not to force a rigid schedule.
Stage 1: Build a walking habit. Start with easy-to-moderate walks on mostly level ground. Focus on consistency, a comfortable pace, and finishing with enough energy to walk again soon. Cycling, swimming, or other low-impact exercise can support general fitness, but walking is the closest rehearsal for a walking-focused trip.
Stage 2: Extend time on feet. When regular walks feel manageable, gradually make one outing longer while retaining easier walks during the week. This develops time-on-feet tolerance, which is often more useful than speed on a first mountain itinerary.
For a trip with consecutive hiking days, add an easier walk the day after your longer outing once you are tolerating the first session well. This is a controlled way to learn how your legs respond when they are not completely fresh. It should not leave you depleted.
Stage 3: Add elevation. Introduce short, controlled hill repeats, stairs, a step machine, or incline treadmill walking. Build climbing exposure before adding substantial pack weight. Early hill sessions should feel like practice with good form, not a race.
Stage 4: Rehearse the trip. Use longer walks on terrain that resembles your destination where possible. Wear the footwear and pack you plan to use. Add a back-to-back hiking weekend only after shorter walks, hills, and descents are being tolerated comfortably.
A practical guardrail is to change one major variable at a time: duration, elevation, pace, terrain difficulty, or pack load. If you make a walk longer, do not also choose your steepest route and carry your heaviest bag. Recovery days are part of trekking endurance training, not missed training.
Train Uphill Capacity, Downhill Resilience, and Pack Tolerance
Uphill hiking blends endurance with leg strength. Hills, stairs, incline walking, and repeated step-ups prepare the legs to produce force for longer than a conventional gym exercise set. They also reveal pacing mistakes quickly: pushing too hard early on a climb can make the rest of the day feel much harder.
For most beginners, a steady effort that still allows brief conversation is more useful than repeated all-out climbing. Long mountain days reward economy. You want a pace that leaves energy for navigation, weather changes, food breaks, and the descent.
Hiking Downhill Training
Descents often create more soreness than climbs because the legs repeatedly control and slow the body on the way down. That work can be felt in the front of the thighs, calves, feet, hips, and around the knees, even when the uphill section felt manageable.
Build downhill tolerance gradually with movements such as sit-to-stands, comfortable-range squats, step-ups, controlled step-downs, calf raises, and single-leg balance. Focus on slow, stable lowering and comfortable alignment rather than chasing fatigue or forcing a deeper range of motion.
Two nonconsecutive strength sessions can fit around walking if they are well tolerated. Prioritize the quads, glutes, calves, hips, and trunk because they help maintain posture and control on uneven terrain. If a movement causes sharp, worsening, persistent, or function-limiting pain, reduce or stop it and seek individualized assessment.
On the trail, shorter steps, a controlled pace, and breaks before technique deteriorates can improve downhill confidence. Trekking poles are optional, but some hikers find them useful for stability and rhythm. Practice adjusting and placing them on gentle ground before relying on them during a steep descent.
Backpack Walking Workouts
Backpack walking workouts improve specificity, but a pack also increases stress on the feet, joints, shoulders, back, and hips. Start with a properly fitted pack and a light, stable load. Increase load only after your current walking duration and terrain feel manageable.
Place heavier items close to your back and secure loose contents so the pack does not shift. Practice with your usual water setup and the gear you expect to carry. The aim is not to reach an arbitrary training weight; it is to become comfortable with the realistic equipment your itinerary requires.
Turn Training Walks Into Full Trail Rehearsals
Fitness is only part of mountain readiness. Longer training walks are where you identify small equipment and routine problems before they affect the trip.
Break in boots or trail shoes gradually rather than wearing them for the first time during departure week. Test socks, lacing patterns, layers, rain protection, sun protection, and any blister-prevention supplies you already plan to use. Footwear that feels fine on a short urban walk may behave differently after hours of heat, sweat, downhill pressure, or wet ground.
Practice pack fit as well. Adjust shoulder straps, the sternum strap, and the hip belt where applicable so the load sits close and does not swing. Make water, snacks, a warm layer, and navigation essentials easy to reach without unpacking everything at every stop.
Use longer outings to rehearse food and drink. Carry options that are easy to open, tolerate, and replace during the trip. There is no universal hydration or calorie formula for every hiker, climate, pace, and route. The practical objective is to learn what you can realistically eat and drink while moving.
Practice pacing from the first minutes of each walk. Begin more easily than seems necessary, settle into a sustainable climbing rhythm, and take short breaks before exhaustion arrives. A measured first climb often protects the afternoon descent and makes the next day more enjoyable.
Adjust for Altitude, Conditions, and Recovery During the Trip
Altitude hiking preparation has clear limits. Sea-level training can improve your ability to walk uphill and carry a pack, but it does not replace acclimatization. A fit hiker can still become unwell at elevation, while a less athletic person may do well with a conservative itinerary and appropriate time to adjust.
Review the route’s sleeping elevations and ascent profile before travel. When the itinerary permits, allow time to acclimatize gradually and avoid treating the first day as a fitness test. Follow destination-specific advice from local land managers, guides, and health authorities, especially when the route is high, remote, or difficult to leave quickly.
Headache, nausea, dizziness, unusual fatigue, or symptoms that worsen at altitude deserve serious attention. Do not assume fitness or determination will solve them. Modify plans and follow relevant local emergency and descent guidance.
Trail closures, weather, water availability, permits, hazards, and route conditions can change faster than a training plan. Check current information from the relevant park, land-management, or trail authority before each hike, then make decisions based on present conditions rather than an itinerary drafted months earlier.
For a week of hiking, recovery is a tactical choice. Set a manageable first-day pace, eat and drink regularly, protect sleep, change out of wet clothing, and check your feet each evening. Be willing to shorten a day, select a lower route, or take a rest day if fatigue is accumulating.
A useful readiness checklist is simple: you have completed comfortable long walks, practiced some elevation and descent, tested your pack and footwear, learned a sustainable pace, reviewed the route, and kept flexibility in the itinerary. That preparation is more useful than trying to prove readiness in one punishing workout.
FAQ
How many weeks do I need to train for mountain hiking as a beginner?
It depends on your current walking habit, trip length, terrain, elevation, pack demands, and health history. More preparation time generally allows more gradual progression and recovery. If the trip is close, prioritize regular walking, modest hill practice, gear testing, conservative route choices, and realistic expectations rather than cramming demanding sessions.
What are the best backpack walking workouts for a first multi-day hiking trip?
Begin with ordinary walks using a properly fitted pack and a light, stable load. Progress by extending time on feet or adding mild terrain before increasing pack weight. The most useful session usually resembles your trip while still allowing good posture, comfortable foot mechanics, and recovery for the next outing.
How can I prepare for hiking at altitude if I live near sea level?
Build aerobic fitness, walking endurance, hill tolerance, and pack comfort at home, but treat them as preparation for movement rather than protection from altitude illness. Plan a conservative arrival and ascent schedule where possible, know the route’s sleeping elevations, and follow current destination-specific guidance. If symptoms emerge or worsen at altitude, adjust plans promptly rather than pushing through.