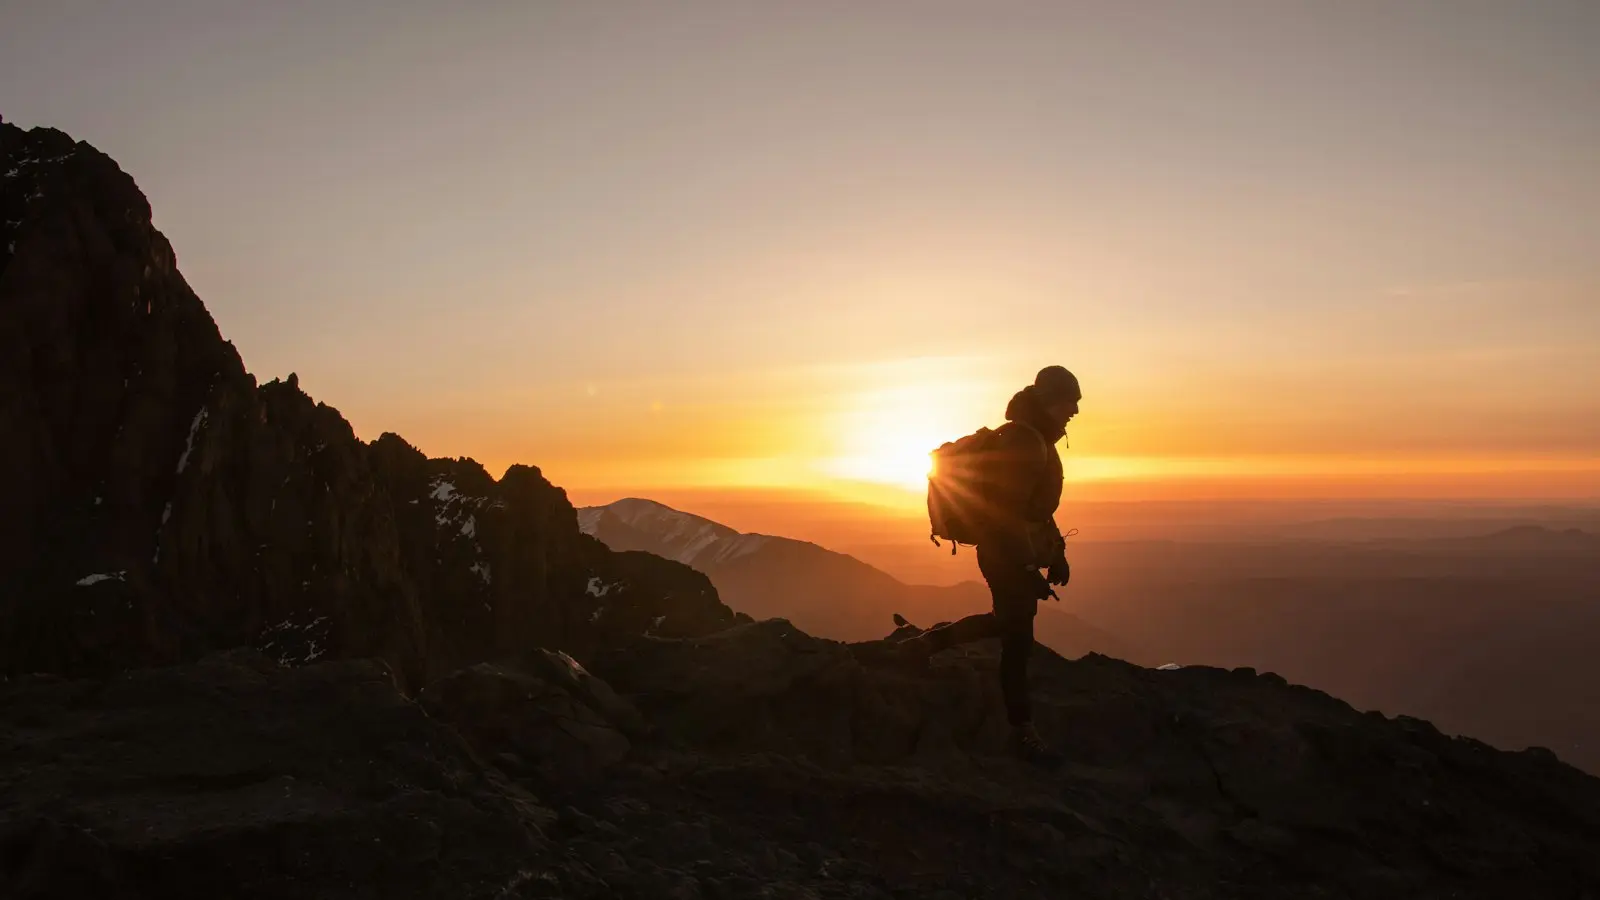
Safe sunrise hiking photography starts before the camera comes out. Scout the viewpoint in daylight when possible, verify local access and conditions, arrive with time to spare, and choose stable ground before composing. If darkness, weather, unstable footing, crowding, or fatigue makes the route uncertain, change locations or turn back rather than forcing the image.
The central trade-off is simple: a less dramatic photograph is preferable to unstable footing, blocked access, or attention pulled away from a hazard. Treat the shoot as a risk-management routine involving timing, positioning, equipment, and attention—not just camera settings.
Key Takeaways
- Scout the route and potential shooting positions in daylight, then verify current access rules, closures, sunrise time, and trail conditions.
- Arrive early enough for slower movement in darkness, a footing check, route-finding, and camera setup—not just the walk.
- Use a headlamp, keep equipment compact, and place tripods only where they cannot obstruct movement or encourage unsafe positioning.
- Look up regularly, keep away from edges and barriers, and never ask people to pose in hazardous areas.
- Plan the return journey before taking the first frame, and put the camera away when footing, visibility, weather, crowding, fatigue, or route confidence deteriorates.
Scout the Viewpoint Before the Sunrise Hike
A daylight visit is the most useful preparation for a dark approach. Walk the route at a measured pace and note steep sections, loose rock, mud, wet vegetation, roots, steps, narrow passages, drop-offs, and areas where route-finding could become difficult without natural light.
Identify where you could safely stand or place a camera, but choose an alternative as well. The preferred spot may be windy, icy, crowded, closed, or more exposed than it appeared in a photograph. A secondary viewpoint gives you a safer option before the pressure of a time-sensitive sunrise takes over.
Check the relevant land manager or viewpoint operator for current access hours, closures, barriers, permitted areas, and restrictions on photography or tripods. Rules differ between locations. A visible path or popular viewpoint does not prove that access is permitted or that nearby ground is stable.
Confirm the current sunrise time using a reliable local source, then work backward. Your plan should include the approach, route-finding, pauses, clothing adjustments, a footing assessment, and camera setup—not merely the walking time shown by a map. Allow more margin when the route is unfamiliar, exposed, crowded, or affected by poor weather.
Previous images can show the general direction of light and landscape, but they are only visual references. They may have been taken from a different position or under different conditions. Never treat another person’s composition as proof that you should stand in the same place.
Arrive Early Without Creating a New Hazard
Arriving early helps only when the extra time is used deliberately. Separate your planned arrival at the viewpoint from the moment you want to begin photographing. The buffer should cover slower movement in darkness, checking the surface, finding a permitted standing position, allowing others to pass, and dealing with cold, wind, or equipment problems.
Use a headlamp before first light rather than relying on a phone screen or camera display. Keep the beam directed toward the next section of trail and keep a hand available for balance when the terrain requires it. A spare light or backup power plan can help, but neither replaces route knowledge or a decision to retreat.
Stay on the marked or permitted route. Do not cross barriers, step onto ledges, scramble over unstable ground, or leave the trail because a wider view looks better. In darkness, the difference between solid ground and a fragile edge can be difficult to judge.
When you reach the intended shooting area, stop before unpacking. Look for loose stones, slick surfaces, ice, mud, strong gusts, exposed edges, and people moving through the space. Listen as well as look; hikers approaching from behind may be difficult to see in low light.
If visibility or conditions make the position uncertain, choose the safer viewpoint. A sunrise is time-sensitive, but that is precisely why a conservative decision rule matters. Missing a composition is normal; moving into an unsafe area should not be.
Set Up Camera Gear Without Losing Situational Awareness
Compact equipment supports safer hiking photography because it reduces the number of objects to carry, unpack, secure, and monitor. Bring only what you can operate without repeatedly searching through a bag or leaving accessories loose on uneven ground.
Establish your stance before composing. Plant your feet on stable ground, confirm that you can move away if needed, and only then raise the camera. Never walk backward while looking through a viewfinder or screen. If you need a wider perspective, change the lens, move only after looking up, or accept a less expansive frame from the safe position.
A tripod can improve stability during low-light exposures, but it is useful only when its legs can stand securely without blocking movement. Place it outside walking lines, stairs, access points, and areas other hikers may need to use. On a narrow trail or crowded platform, a handheld or compact setup may be safer.
Shorten or remove the tripod when it becomes a snag risk, obstructs someone, or encourages you to move closer to an edge. The tripod should not dictate where you stand. If using it requires unstable footing or repeated steps across a hazardous surface, it has become a liability.
Secure the camera with a strap and keep loose items contained. Wind can move lightweight accessories, and a dropped filter or battery can draw attention toward an edge. Protect batteries and electronics from cold, moisture, and sudden temperature changes according to the manufacturer’s guidance, without letting equipment management distract you from the terrain.
Use brief screen checks instead of watching the display continuously. After each sequence, look up, reassess your feet, check nearby people, and listen for movement. The camera can record for a few seconds while your attention returns to the physical environment.
Photograph People and Exposed Viewpoints Responsibly
A safe viewpoint photo depends on the physical arrangement of people, not merely on how close they appear in the frame. Keep subjects, barriers, and drop-offs separated by stable ground and room for movement, even if a longer lens or later crop makes them look close together.
Never ask someone to stand nearer an edge, enter a closed area, climb onto a barrier, or repeat a risky pose. Do not encourage anyone to move into an area you would not use yourself. Ask permission when making an identifiable person the subject and follow local rules and reasonable privacy expectations.
Leave room for hikers to pass. A tripod, backpack, or group gathered around a narrow viewpoint can create a hazard even when everyone is on stable ground. Take turns, keep equipment compact, and move out of the main route before reviewing images.
If the best composition seems to require unsafe movement, change the focal length, crop later, wait for space, or use a different standing position. A safer angle may lose some foreground drama, but it preserves control of your feet and leaves others free to move.
A crowded viewpoint, worn path, or collection of previous images is not evidence that every nearby position is sound or permitted. Crowds can increase pressure to squeeze into a gap or imitate a pose. Treat them as a reason to communicate and reassess.
Protect the Return Journey After the Shot
The descent deserves its own plan. Before packing up, check the route back, remaining daylight, weather, battery level, water, navigation method, and transport or access arrangements. Sunrise may improve visibility, but shadows, glare, cloud, rain, snow, and changing wind can still make the return more difficult.
Keep a navigation light available even after sunrise. A headlamp can help in shaded sections, under tree cover, in poor weather, or when a delay leaves part of the route dark. Put the camera away before moving through technical, narrow, slippery, crowded, or exposed terrain.
Watch for signs that the original plan is no longer appropriate: footing becomes unreliable, visibility drops, wind makes standing difficult, people crowd the area, fatigue affects balance, equipment fails, or you are no longer confident about the route. These are reasons to stop photographing, change position, or turn back.
Use a practical stop rule: end the shoot whenever attention, footing, visibility, weather, crowding, fatigue, or route confidence deteriorates. Do not wait for a dramatic warning. Early decisions are easier because you still have options, daylight, and energy.
Battery planning also supports safe movement. Reserve enough power for navigation and communication rather than assuming a camera or phone will remain available after extended screen use. Keep the camera packed when the priority becomes finding the route, managing weather, or helping someone else move safely.
The repeatable routine is straightforward: scout in daylight, verify local rules and current conditions, arrive with margin, use a headlamp, assess the ground, establish a safe stance, keep gear compact, look up regularly, and plan the descent before taking the first frame. The routine cannot guarantee a perfect sunrise, but it reduces the chance that one image controls every decision.
FAQ: Safe Sunrise Hiking Photography
Is it safe to hike to a sunrise viewpoint in the dark?
It depends on the route, terrain, weather, access status, navigation demands, lighting, and your ability to turn back. Daylight scouting and a reliable headlamp can reduce uncertainty, but they do not make an exposed or unfamiliar route automatically safe. If you cannot confidently identify the route or stable footing, choose a lower-risk location or wait for daylight.
How early should I arrive for sunrise photography?
There is no universal arrival time because trails differ. Allow enough time for the approach, slower movement in darkness, route-finding, a footing and weather check, space for other hikers, and camera setup. Verify the current sunrise time for the specific location and build in more margin when the route is unfamiliar, exposed, or likely to be crowded.
Should I use a tripod for sunrise trail photos?
Use one only when it can stand on stable ground without blocking a trail, stairs, access route, or emergency movement. A tripod may improve low-light stability, but a compact or handheld setup is safer when the area is narrow, windy, crowded, or uneven. Never move toward a hazard to make the tripod position work.
Where should I stand near a viewpoint?
Choose a permitted, stable area identified before you begin composing. Keep enough room to move without stepping backward toward an edge, and leave space for other hikers to pass. Look up regularly rather than remaining absorbed in the screen, and change the framing instead of moving to unstable ground.
What should I do if the best composition is near an edge or crowded viewpoint?
Move to a safer standing position, wait for space, use a longer focal length, or crop the image later. Never ask someone to pose closer to an edge or enter a closed area. If the composition cannot be made safely, abandon it; the photograph is not worth unstable footing or crowding another person into danger.