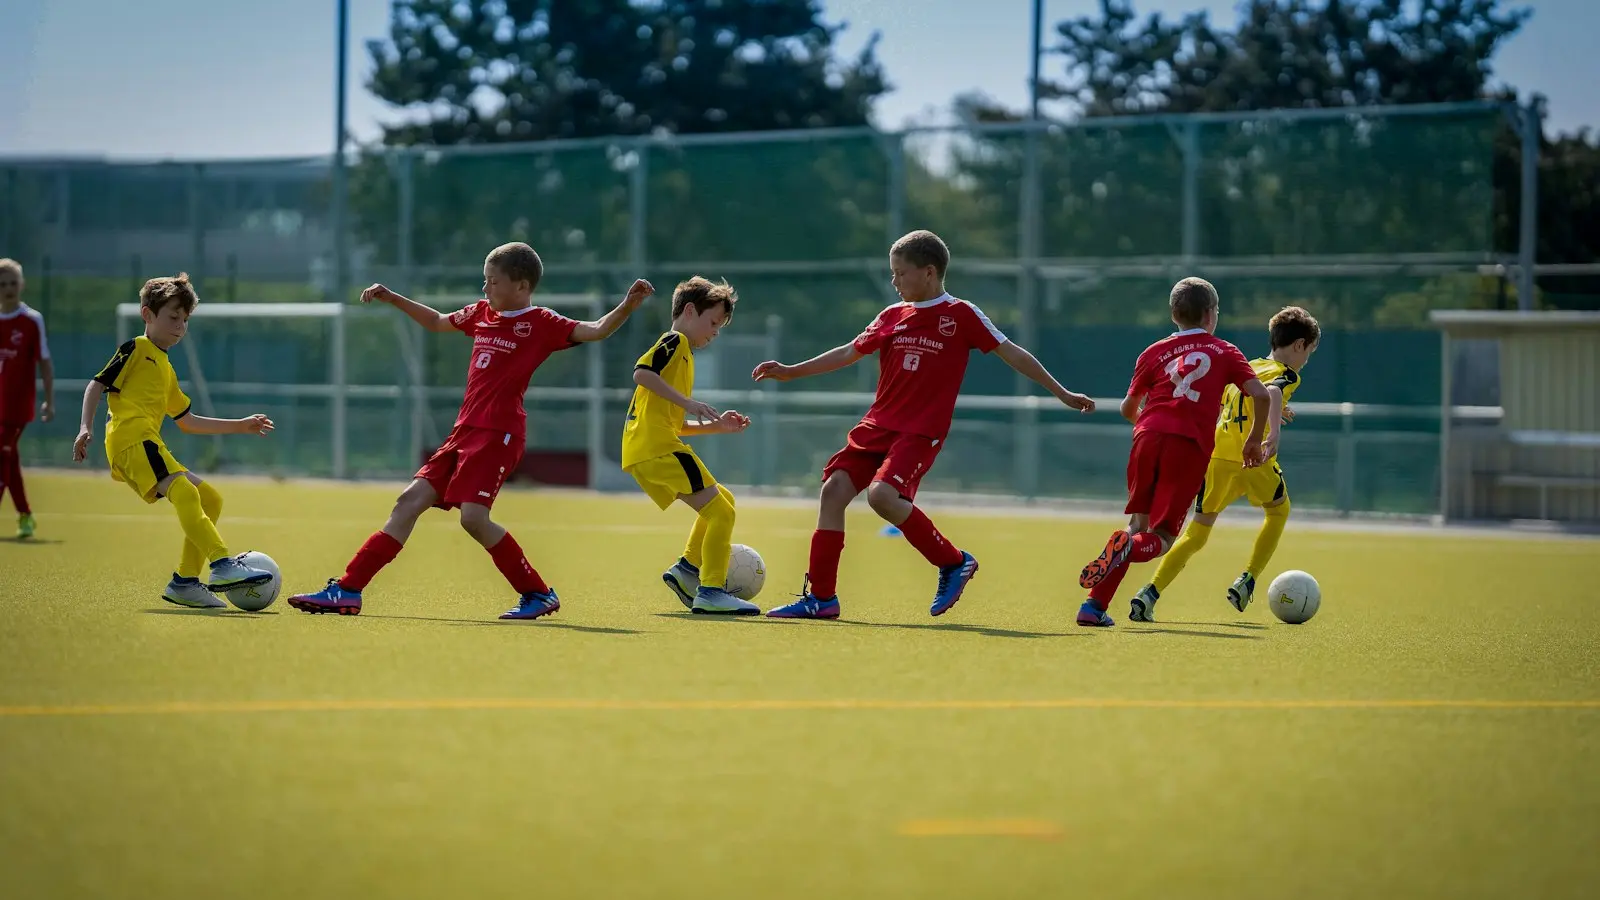
The best small sided soccer formation is one your players can understand, maintain, and adapt when possession changes. For many teams with four outfield players, a balanced 2-2 is a practical starting point because it provides clear defensive cover and two attacking options. It is not automatically the best shape, though. Pitch size, player numbers, goalkeeper rules, stamina, technical ability, and the opponent should all influence the decision.
A formation is a reference structure, not a set of fixed positions. Players still need to rotate, support the ball, cover teammates, and react to transitions. The useful question is not simply where players stand at kickoff, but who provides width, who protects the center, and who covers the space left by an attacking or pressing teammate.
Key Takeaways
- A balanced 2-2 is often the clearest starting point for four-outfield-player teams, especially when experience and fitness levels vary.
- Choose a shape according to pitch dimensions, player strengths, goalkeeper rules, and whether the team prefers possession or direct attacks.
- When one player presses, teammates must limit the next pass and cover the space behind the pressure.
- Change formation only in response to repeated problems, such as losing central control, leaving the forward isolated, or exposing the last defender.
- Test the shape in possession and transition games before match day so players understand their first responsibility in each phase.
Start With the Small-Sided Tactical Problem
Small-sided soccer compresses the game. Fewer players are available to cover space, so one poor decision can open a direct route to goal. Players are also involved more often and must switch quickly between attacking and defending.
Before choosing a shape, confirm the format. A five-a-side game may mean a goalkeeper plus four outfield players, but local competitions can vary in pitch dimensions, substitution rules, goalkeeper restrictions, restart procedures, and permitted formations. Similar structures may also be described differently in futsal, youth soccer, recreational leagues, and other small-sided formats.
Pitch dimensions matter just as much. On a narrow pitch, a wide player may not need to stand close to the touchline because there is limited space to exploit. On a wider surface, failing to stretch the defense can make the center crowded and predictable. A larger small-sided pitch increases the running required to recover, while a compact pitch makes short passing, first touches, and immediate defensive reactions more important.
Start with four questions:
- Who provides width when the team has the ball?
- Who protects the central lane when possession is lost?
- Who supports the first attacker instead of leaving that player isolated?
- Who covers behind the player pressing or joining the attack?
The formation should make those answers clear enough that players can act without waiting for instructions from the sideline.
Compare Common Small-Sided Shapes
2-2
The 2-2 gives a team two deeper players and two higher players. It is balanced, easy to communicate, and usually a strong baseline for a four-outfield-player team.
In possession, the deeper pair can circulate the ball while the higher pair create passing lanes, offer width, or make short forward movements. The shape also gives the team a reasonable defensive base: if one attacking player loses the ball, two players are already positioned to help delay a counterattack.
Its main weakness is that it can become flat. If both deeper players stay on the same line and both attackers wait high, the team may have no central link. Opponents can block the forward pass, leaving the attackers disconnected from the buildup. The solution is not always to abandon 2-2. One player can drop toward the ball while the other stays higher, creating staggered lines.
The 2-2 suits teams with mixed experience because its responsibilities are relatively clear. It becomes less effective when players refuse to rotate, nobody wants to carry the ball forward, or the team needs an extra central connector against a compact opponent.
1-2-1
The 1-2-1 places one deeper player, two across the middle, and one higher player. It is often called a diamond because the four outfield roles form a diamond-like structure.
Its biggest advantage is central connection. The deeper player can build play, the two middle players can offer width and support, and the forward provides a target between or beyond defenders. When the team moves the ball well, this shape offers several short passing angles instead of forcing direct passes from defense to attack.
The trade-off is workload. The two middle players may need to move wide in possession, recover centrally in defense, support the forward, and cover the sides when the deeper player is beaten. If they tire or lose discipline, the shape can become vulnerable in wide areas.
The 1-2-1 also needs a forward who can receive under pressure and bring teammates into play. If that player stays too high or cannot protect the ball, the team may struggle to advance. If the forward drops too often, the team can lack depth. This shape suits teams with mobile, communicative midfielders and enough technical quality to combine through pressure.
2-1-1
The 2-1-1 uses two deeper players, one connecting player, and one advanced player. It gives the team a strong defensive base and a clear outlet for direct attacks.
When defending, the two deeper players can protect the central lane and help delay forward passes. With the ball, the connecting player can receive from the back and look for the forward early. This can suit a team that prefers quick counterattacks, has a reliable target player, or faces an opponent that leaves space behind its defenders.
The risk is isolation. If the connecting player cannot get close enough to the forward, the attack becomes a hopeful pass followed by a loss of possession. The advanced player may also receive with no nearby support. To reduce that risk, the deeper player on the ball should step forward when safe, while the other deeper player remains available to cover.
This shape can also become too passive. A team may defend with four players behind the ball but offer no pressure on the opponent’s first pass. The connecting player must know when to press, when to screen the center, and when to support the forward.
1-3 and Other Attacking Shapes
A 1-3 shape puts three outfield players higher or across the attacking line. It can create central numbers, aggressive pressure, and multiple options around the opponent’s goal. It may be useful late in a match when a team needs a goal and has the recovery speed and communication to manage the risk.
The danger is the space behind the first line of pressure. If one attacker is beaten or the opponent plays around the press, the remaining defender can face an overload. This is not a shape to use simply because the team is losing. It requires a clear plan for who covers the center and who drops first when possession changes.
There is no universal best soccer formation. The best choice depends on how much width the pitch offers, how quickly players recover, whether the goalkeeper can distribute accurately, and whether the team is more comfortable with patient possession or direct play.
Define Roles in Possession, Defense, and Transition
A player with the ball should normally have at least one safe passing option and one progressive option. The nearest teammate might provide a short angle, while another player stretches the pitch or makes a forward run. Standing in a formation spot is not enough if every passing lane is blocked.
Defensively, the first priority is usually protecting the central route to goal. The nearest player can pressure the ball, but the next player should think about the pass behind that pressure rather than chasing the same opponent. Other teammates should recover toward the center and stay close enough to help without surrendering an uncontested wide pass.
When one player presses, the team needs cover. The pressing player should not be treated as an independent defender. A teammate may screen the forward pass, another may cover the space behind the press, and the deepest player may adjust to protect against a direct ball. The exact distances depend on the pitch and rules, but the principle is consistent: pressure works better when the next pass is limited.
After losing possession, choose one of three simple responses. Press briefly if the ball carrier is facing backward or has limited options. Delay and recover centrally if the opponent has a clear forward route. Or retreat quickly if the team is stretched and the last defender is exposed. Constant pressing is not automatically effective; it can create large gaps and excessive fatigue when recovery cover is missing.
Rotation is useful when it preserves balance. A deeper player can step forward if a teammate drops, and a wide player can move inside when another player holds the width. The team should avoid having everyone move toward the ball at once. Rotation should create a new passing angle, not erase the team’s defensive protection.
Choose the Starting Shape From Team and Match Conditions
Use a balanced shape when players have uneven experience, mixed fitness, or limited positional understanding. A 2-2 gives each player a clear starting zone and allows the team to defend with two deeper players without abandoning attacking support.
A 1-2-1 may be preferable when the team has mobile midfielders who can cover wide areas and a forward comfortable receiving the ball. It can also help against opponents who defend narrowly because the middle players can stretch the pitch before combining inside.
A 2-1-1 suits teams that defend compactly and attack quickly. It is useful when the opponent presses high, leaves space behind its midfield, or when your team has a forward who can hold the ball long enough for support to arrive. It is less suitable if the forward is regularly isolated.
A more attacking shape should be linked to specific conditions: the team needs a goal, the opponent is defending deep, and there is enough recovery speed to handle counterattacks. A deeper structure is more sensible when stamina is limited, the opponent has dangerous individual attackers, or your team repeatedly loses the ball in advanced areas.
For most recreational teams with four outfield players, start with a 2-2. Switch toward a 1-2-1 if the team cannot connect defense to attack or lacks a central link. Move toward a 2-1-1 if the team is being exposed centrally and needs a deeper base. Consider a more aggressive shape only when the players understand who protects the space behind the press.
The signals for changing shape should be observable. Change when the team repeatedly loses central control, cannot create width, leaves the forward isolated, or exposes the last defender. Do not change merely because the opponent scores once; change when the same tactical problem appears several times.
Test the Formation Before Match Day
Use a small possession game with a clear width rule. Mark two wide channels and ask players to keep one player available outside the ball-side area while teammates form support angles inside. This reveals whether the proposed shape creates passing options or leaves players on the same line.
Next, test transition behavior. Play a possession game in which the defending team can counter toward a small goal immediately after winning the ball. The pressing player must react, while teammates decide whether to block the forward pass, recover centrally, or protect the space behind the press.
Rehearse goalkeeper distribution and restarts separately. A formation that looks effective from open play may fail if the goalkeeper has no safe short option or if players do not know who covers after a corner, kick-in, or other format-specific restart. Check the competition rules before practicing a routine that may not be permitted.
Keep the coaching language simple. Each player should be able to explain their first defensive responsibility, nearest passing option, and recovery position after losing the ball. If the team needs a long speech to remember the shape, the structure is probably too complicated for match day.
Adjust one variable at a time: starting positions, pressing distance, the height of the forward, or the amount of rotation. Use a sensible warm-up and manageable training intensity, particularly when players have different fitness levels. The aim is not to prove a diagram correct, but to find the shape that produces clearer decisions, better cover, and fewer unopposed attacks.
Frequently Asked Questions
What is the best soccer formation for a small-sided team?
There is no universal answer, but a 2-2 is often the most practical starting point for a team with four outfield players. It offers balanced defensive and attacking responsibilities and is relatively easy to explain. Move to another structure when the team lacks a central link, cannot create width, or is repeatedly exposed in transition.
Is a 2-2 or 1-2-1 better for five-a-side tactics?
A 2-2 is usually easier for mixed-experience teams because the defensive base is clear. A 1-2-1 can provide better central connections and more passing options, but its middle players carry more running and decision-making responsibility. Choose the 1-2-1 when those players can rotate, recover, and communicate consistently.
How should a small team change its formation when players tire or fall behind?
When players tire, simplify the shape and protect the center rather than demanding constant pressing. A 2-1-1 can provide a deeper base and a clear counterattacking outlet. When trailing, add attacking support gradually, but only if one player still protects the space behind the press. A more aggressive shape is useful only when the team can manage the transition risk.