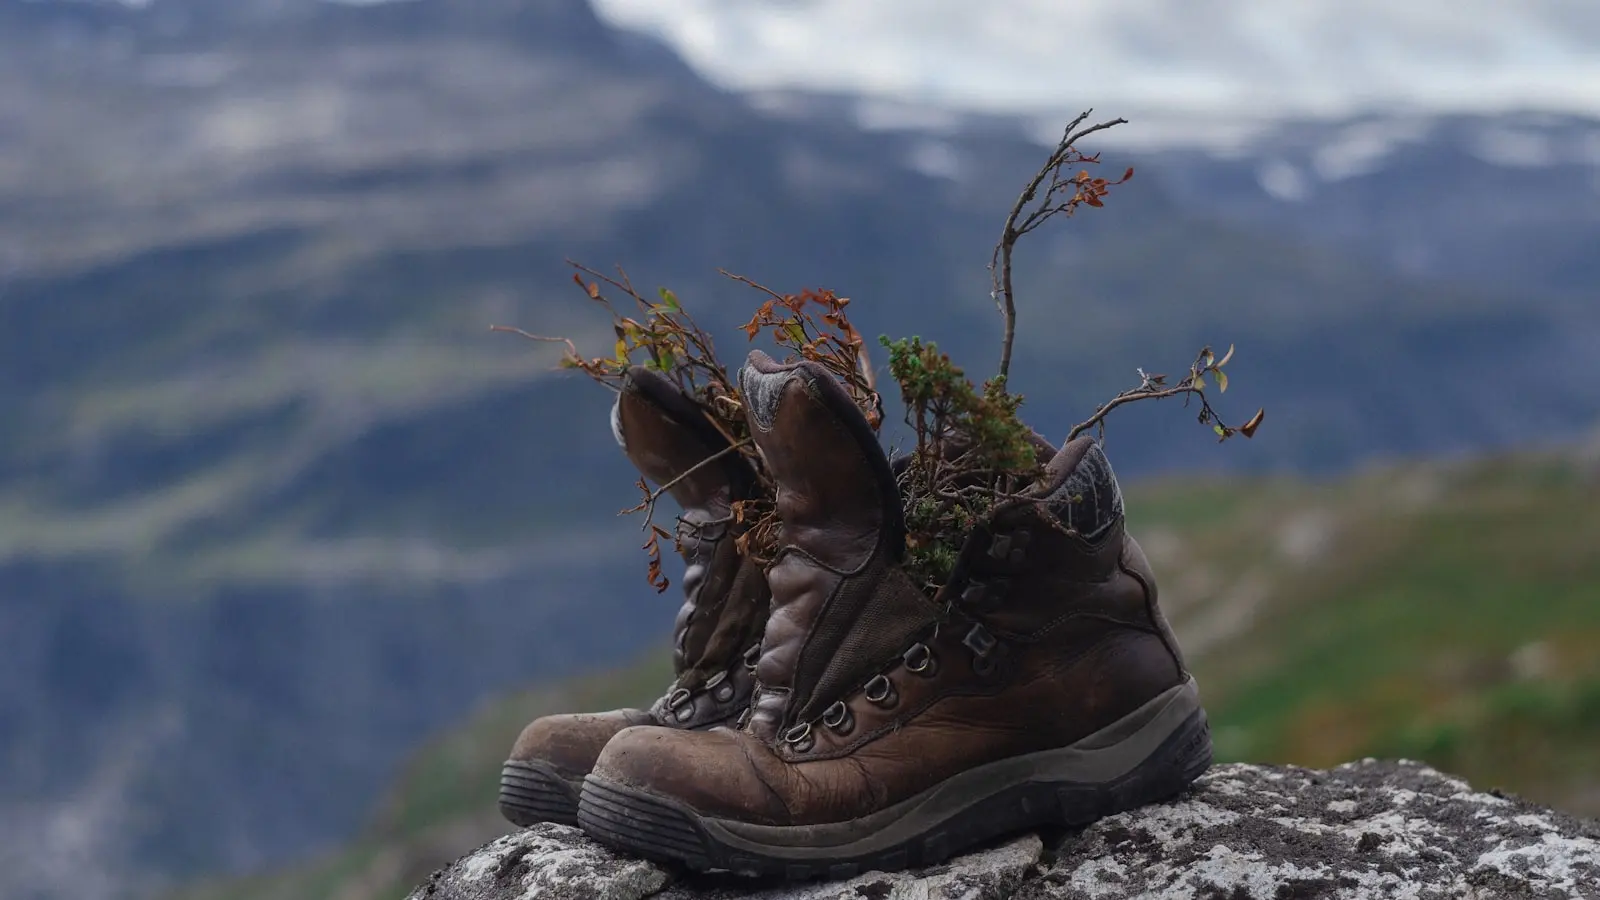
When planning a hike in the Dolomites, the footwear decision often comes down to one question: what is the right balance between weight, protection, and comfort for the terrain you will actually walk on? The answer depends on understanding the specific mix of surfaces, your pack weight, and your route. This guide breaks down the trade-offs to help you match boots to your itinerary without over- or under-investing in gear.
Key Takeaways:
- Match sole stiffness to terrain: stiffer soles for via ferrata and scree, flexible for groomed trails.
- Ankle height should align with pack weight and trail unevenness, not just fashion.
- Waterproofing trade-off: essential for wet conditions, but can cause sweaty feet in dry weather.
- Break in new boots at least 2–3 weeks before your trip to avoid blisters.
- Traction on limestone requires aggressive, multi-directional lugs.
Understanding Dolomites Trail Conditions That Affect Your Footwear Choice
The Dolomites offer a wide range of surfaces within a single day. Well-groomed gravel paths, grassy slopes, loose scree fields, exposed rock bands, and sections of via ferrata (iron-rung ladders bolted into cliffs) are common on popular routes like the Tre Cime di Lavaredo circuit, the trail around Monte Piana, or sections of the Alta Via 1. Later in the season, residual snow patches can remain on north-facing slopes, while early-season hikes may involve significant snow crossings.
This diversity makes a one-footwear-fits-all approach difficult. A cushioned trail runner that feels great on a packed gravel path can become unstable on loose scree and dangerous on wet limestone slabs. Conversely, a stiff mountaineering boot that provides excellent edging on via ferrata rungs may be overly heavy and fatiguing on a long, gradual descent. Seasonal conditions also matter: dry summer trails allow more flexibility, while spring and autumn often demand waterproofing and better grip on damp rock.
To choose wisely, you need to map your planned itinerary against the terrain types you’ll encounter most. The more your route involves scree, via ferrata, or early-season snow, the more you should lean toward stiffer soles and higher ankle support. If your trip is mostly on well-maintained valley trails with a light daypack, lighter options become viable.
Key Boot Features to Match the Dolomites Terrain
Sole stiffness is the most critical feature for technical terrain. On narrow via ferrata rungs, a stiff sole with a defined toe rand allows your foot to edge precisely. A cushioned trail runner absorbs feedback, causing your forefoot to sit above the rung rather than gripping it. This is a common regret among hikers who attempt via ferrata in overly flexible footwear. Approach shoes and mid hiking boots with a shank offer a good middle ground.
Ankle height affects stability and fatigue. A high-cut boot may provide additional stability when carrying a heavy pack or crossing uneven scree, but the research on injury prevention is not conclusive. The more relevant factor is ankle stiffness and how well the boot locks your heel. A mid-height boot that fits snugly around the ankle can offer reassurance without the weight of a full mountaineering boot. For day hikes with a light pack (under 5 kg), a low-cut trail runner or approach shoe may be acceptable, provided you have good ankle proprioception.
Waterproofing involves a trade-off between dryness and breathability. Gore-Tex membranes work well for light rain, snow, and wet grass, but they can wet out under prolonged heavy rain or when crossing streams. Once soaked, waterproof boots take much longer to dry than non-waterproof alternatives. For dry summer conditions, a breathable non-waterproof shoe might be preferable, especially on long days where sweaty feet lead to blisters. However, if your route involves early morning dew or wet snow, waterproof boots are non-negotiable.
Weight directly impacts fatigue. On a typical 6-8 hour day, each extra 100 grams per foot can increase energy expenditure noticeably. Lightweight boots (under 500 g per boot) reduce fatigue but offer less protection. Mid-weight boots (500-700 g) provide a versatile compromise. Heavy mountaineering boots (over 800 g) are reserved for technical climbs or early-season snow.
Traction on Dolomites limestone requires a lug pattern with aggressive, multi-directional lugs. The rock can be slippery even when dry, and wet limestone is notoriously slick. Look for outsoles with sticky rubber compounds and deep lugs that release mud easily.
Comparing Footwear Categories: Trail Runners, Mid Hiking Boots, and Mountaineering Boots
Trail runners are lightweight, fast-drying, and comfortable for long days on smooth trails. They are best for marked-trail day hikes where you can run or walk quickly. However, on scree and via ferrata they lack the sole stiffness needed for precise edging, and their low cut offers little lateral stability on uneven ground. For a 4-day trip with a light daypack, trail runners could work if your route avoids steep scree and via ferrata. But many hikers find they wish for more support after a few hours on rocky descents.
Mid hiking boots are the versatile compromise for most Dolomites trips. They combine a stiffer sole (often with a nylon shank) with moderate ankle height. They provide enough edging for most via ferrata, good traction on scree, and are available in waterproof versions. They are comfortable for day hikes and hut-to-hut trips with a pack up to 10-12 kg. This category covers the majority of footwear needs for the Dolomites.
Mountaineering boots are overkill for standard summer routes. Their rigid soles and high cuffs are designed for crampons and technical ice. They are heavy, hot, and uncomfortable for long walks on trails. Only consider them if your trip involves early-season snow, glacier travel, or technical climbing that requires crampon compatibility.
Approach shoes are a specialized category that bridges the gap between trail runners and boots. They have a stiff enough sole for edging on rock, a durable toe rand for scraping up steep steps, and often a sticky rubber outsole. They are lighter than mid boots and dry faster, making them an excellent choice for via ferrata or technical ridge walks. The trade-off is less ankle support and less padding for long descents.
How to Select the Right Boot for Your Planned Trip
Day hikes with a light daypack (under 5 kg): If your route is predominantly on groomed trails with minimal scree, a high-quality trail runner or approach shoe can be sufficient. But if the trail includes loose scree or a via ferrata section, choose a mid boot or approach shoe with a stiff sole. The risk of a rolled ankle on scree outweighs the weight savings.
Multi-day hut-to-hut with a heavier pack (8-12 kg): Prioritize a mid hiking boot with a stiff sole and good ankle support. The extra weight of the pack increases the load on your feet and ankles, especially during long descents. A stiff sole helps distribute pressure and reduces fatigue. Waterproofing is recommended because huts often involve morning dew and unpredictable showers.
Via ferrata specific: The most important features are sole stiffness for edging, a precise fit, and a toe rand that protects against scraping. Approach shoes or stiff mid boots are ideal. Avoid bulky boots that make foot placements clumsy.
Checklist for matching boot features to your itinerary:
- Terrain type: scree, via ferrata, groomed path, snow
- Pack weight: under 5 kg, 5-10 kg, over 10 kg
- Trip length: day hike vs multi-day
- Personal hiking style: fast and light vs cautious and stable
Fit, Sizing, and Break-In: Avoiding Common Foot Problems
Boot sizing is different from street shoes. You need about a thumb’s width of space between your longest toe and the front of the boot when standing. This allows for foot swelling on long hikes and prevents toe stubbing on descents. Heel lock is crucial: your heel should not lift more than a few millimeters when walking uphill. If your heel slips, you will develop blisters. Use a heel-lock lacing technique or adjust fit with insoles.
Width is often overlooked. The Dolomites’ rocky terrain requires a snug midfoot wrap to prevent sliding inside the boot. Many boots come in narrow and wide versions; try both if available.
Break-in is non-negotiable. Start wearing new boots at least 2-3 weeks before your trip. Begin with short walks of 1-2 hours on flat ground, then gradually increase duration and add elevation changes. This allows the materials to mold to your feet and identifies any hot spots before you are miles from a trailhead. Wear the same socks you plan to use on the trip during break-in. If you use orthotics, insert them from day one.
Common problems on long descents include blisters on the heel and toes. Prevention starts with fit: too much space allows foot movement, too little causes friction. Apply adhesive blister patches to known trouble spots before starting a descent. Keep feet dry by changing socks at lunch if they are wet. Avoid cotton socks; use synthetic or wool blends.
Waterproofing and Ankle Support: Myths and Facts
Ankle support: There is ongoing debate among sports medicine researchers about whether high-cut boots actually reduce ankle sprains. Some studies suggest that increased ankle height may provide proprioceptive feedback that helps you avoid twisting, but it does not immobilize the joint enough to prevent injury during a fall. The practical takeaway: high-cut boots may offer some psychological confidence and minor stability on uneven ground, but they are not a substitute for careful foot placement. Low-cut shoes with good fit and trekking poles can be equally effective for many hikers.
Waterproofing: Gore-Tex membranes are effective for light to moderate rain, snow, and wet grass. They work by blocking liquid water while allowing vapor to escape. However, under sustained heavy rain or when wading through streams, water can enter through the top of the boot or the membrane can become overwhelmed and wet out. Once water gets inside, it stays there. In dry conditions, waterproof boots are hotter and less breathable, increasing sweat and blister risk. For summer trips with a low chance of rain, a non-waterproof breathable shoe may be a better choice. For early-season or variable weather, waterproof boots are recommended.
Frequently Asked Questions
Can I use trail runners for a 4-day Dolomites trip with a light daypack? Yes, if your route stays on well-groomed trails and avoids steep scree and via ferrata. However, many hikers find that the terrain forces them onto sections where trail runners feel inadequate. If you are determined to use trail runners, be prepared to move slowly on loose surfaces and consider bringing trekking poles for added stability.
What is the best waterproof hiking boot for the Dolomites? There is no single best model, but look for a mid-height boot with a stiff sole, aggressive outsole, and a reliable waterproof membrane. The boot should fit your foot shape well. Many experienced hikers prefer boots from La Sportiva, Scarpa, or Lowa for the Dolomites, but fit is more important than brand.
Do I really need ankle-high boots for the Dolomites? Not always. For valley walks and well-maintained trails, low-cut shoes can work. But if your route includes scree or via ferrata, ankle-high boots provide useful protection and stability. The decision depends on your personal stability and pack weight. Many hikers compromise with a mid-height boot that hits just above the ankle.
How should I break in new boots before a Dolomites trip? Start at least 2-3 weeks in advance. Wear them for short walks around town, then increase to longer walks with elevation changes. Take them on a few day hikes with a loaded pack to simulate real conditions. If you feel any pressure points, adjust lacing or apply blister patches early. Do not head to the mountains with stiff, unbroken boots.