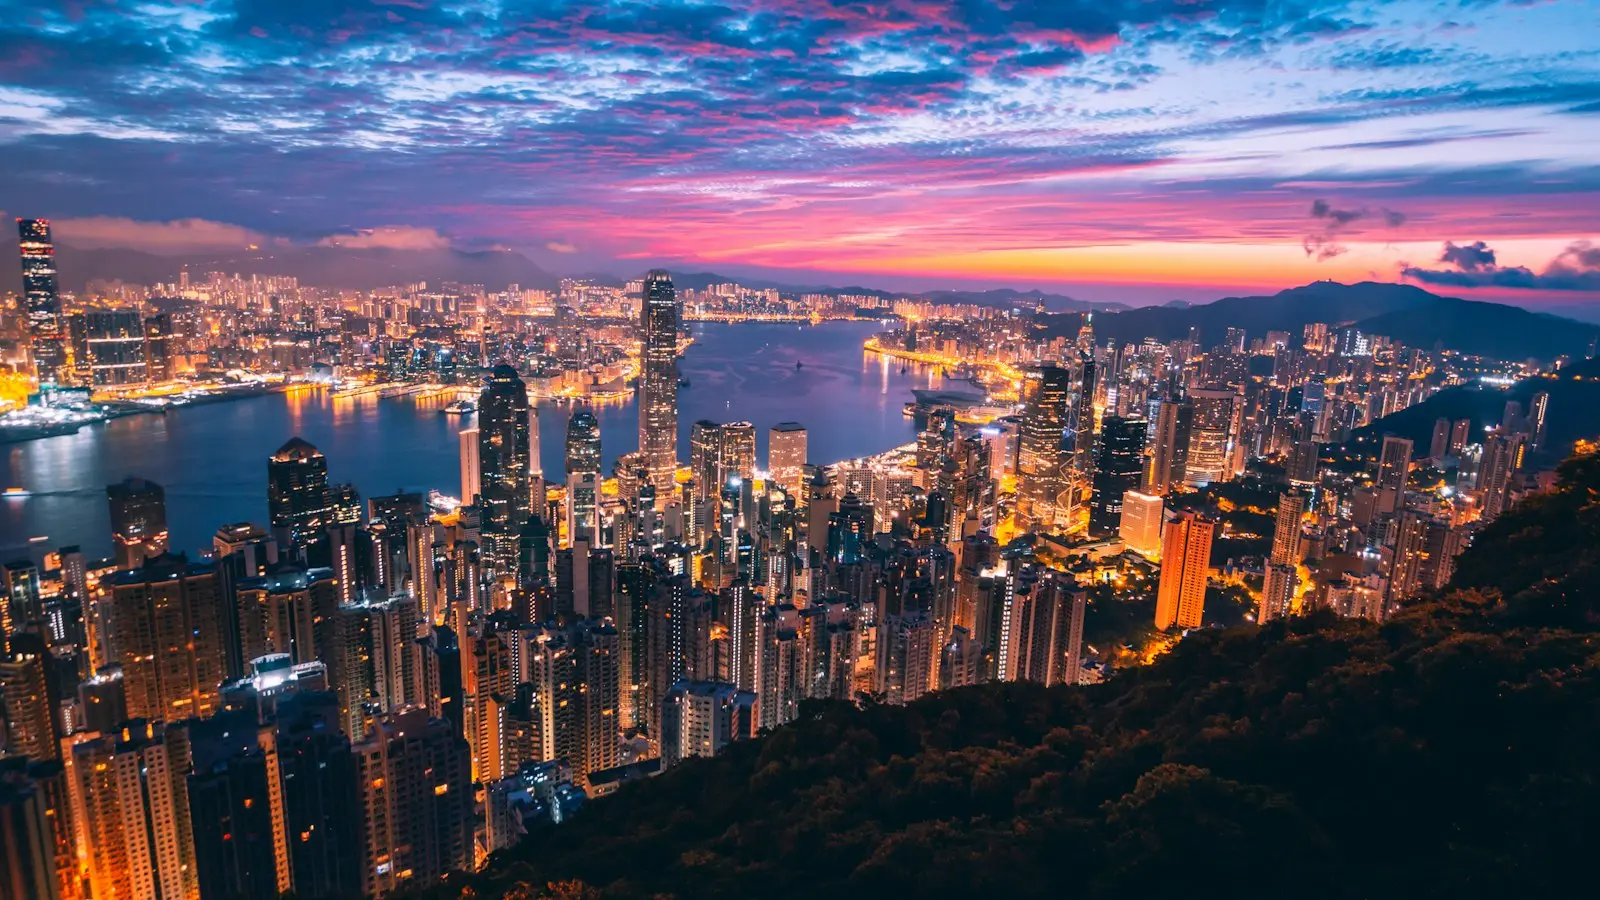
The best way to photograph historic cities after dark is not simply to activate night mode and point at the brightest landmark. Start during blue hour, stabilize the phone with your body or a nearby surface, build the frame around light and architecture, and use night mode when the scene is sufficiently still. When crowds, headlights, rain, or mixed lighting make a technically perfect image unlikely, change position or use motion deliberately rather than expecting editing to repair every problem.
These night city photography tips are designed for travelers carrying a phone or lightweight camera. The approach works especially well in dense historic districts, where narrow streets, illuminated facades, reflective paving, and spontaneous street activity can create atmosphere without professional equipment.
Key Takeaways
- Blue hour often balances sky color, architectural detail, and artificial light better than complete darkness.
- Hold the phone with two hands, brace it when appropriate, and remember that stabilization cannot freeze moving subjects.
- Use illuminated structures, reflections, and leading lines to make the composition intentional rather than merely bright.
- Night mode is most reliable for relatively static scenes; compare it with a shorter standard exposure when people or traffic are moving.
- Prioritize awareness, posted rules, personal security, and respectful treatment of people over getting one photograph.
Choose the Right Time: Blue Hour, Early Evening, or True Night
Blue hour is often the most forgiving period for city photography. The sky still holds color and brightness after sunset, while streetlights, windows, signs, and landmark lighting are already visible. That balance can preserve detail in both the sky and buildings, reducing the extreme contrast that appears later at night.
Complete darkness has a different character. It can make illuminated arches, bridges, towers, and shopfronts feel more dramatic, but there is less ambient light to describe unlit walls, pavement, and people. Shadows become deeper, exposure becomes more difficult, and handheld movement is more likely to soften the image.
Early evening may be the best choice when you want energy. Restaurants are opening, commuters are moving through squares, and public spaces still feel connected to daily life. Later at night, crowds may thin and architecture may dominate, although personal safety, transport availability, and fatigue become more important.
Plan the route before the light changes. A viewpoint that looks ideal on a map may require a slow walk through crowded streets, and a landmark may not be illuminated at the same time every evening. Check current local sunset and twilight information, allow time to reach the location, and make test frames as the sky darkens instead of assuming one setting will work throughout.
Weather can improve the result rather than ruin it. Damp paving may create reflections, while cloud can soften the transition between sky and artificial light. Rain also complicates handling, lens cleanliness, battery life, and footing, so atmosphere must be weighed against practical control.
Stabilize a Phone Without Carrying a Tripod
The basic handheld technique is simple but easy to neglect. Hold the phone with two hands, keep your elbows close to your body, stand with your feet stable, and press the shutter smoothly rather than jabbing at the screen. Take several frames when the scene matters; small differences in breathing or hand pressure can determine whether fine architectural detail remains sharp.
Use the city as support when appropriate. A wall, railing, broad stone ledge, or fixed post can steady your hands, but avoid leaning on fragile structures or positioning yourself where you block a walkway. A timer can help if touching the screen causes movement, while a volume button may provide a steadier shutter release on devices that support it.
Stabilization technologies are not interchangeable. Optical stabilization compensates mechanically for some camera movement, while electronic stabilization uses image information and cropping to reduce apparent shake. Computational night capture generally records multiple frames and combines or processes them to brighten darker areas and improve the final image. Phones may use one, several, or none of these methods depending on the model and camera mode.
The benefit has limits. Stabilization can help with movement from the photographer, but it cannot freeze a cyclist, flag, vehicle, or person walking through a longer exposure. Multi-frame processing may also struggle when parts of the scene move between frames. A small support can be worthwhile for deliberate architecture work if local rules allow it, but it is not essential for every travel photograph.
Do not rely on editing to rescue severe blur. Brightness, color, and contrast can often be adjusted later, but detail lost through camera shake, subject movement, or clipped highlights cannot reliably be recreated.
Build Strong Night Compositions Around Light and Structure
Historic cities provide built-in compositional tools. Use an illuminated facade, archway, bridge, window, sign, or streetlamp as the visual anchor, then arrange darker areas around it to create contrast. The brightest object does not always need to sit in the center; placing it off-center can leave room for a street, tower, or moving figure to lead the eye.
Leading lines are especially useful after dark. Streets, tram tracks, railings, rows of lamps, building edges, and cobbled lanes can direct attention toward a landmark. Walk a few steps in either direction before shooting. A small change in position may align a street edge with an illuminated doorway and produce a more deliberate frame.
Look for reflections in wet pavement, canals, polished stone, windows, and parked vehicles. Reflections can repeat a tower or string of lights and add depth without requiring a wider view. They can also become distracting when every bright sign is doubled, so adjust your angle or lower your viewpoint until the reflection supports rather than competes with the subject.
Compare a wide architectural frame with a closer detail. A whole square may communicate scale, while a carved doorway, lit balcony, clock face, or textured wall can tell a more concentrated story. Moving closer is usually preferable to relying heavily on digital zoom, which can reduce detail and make low-light noise more visible.
People and vehicles are not automatically defects. A silhouette crossing an illuminated street can establish scale, and controlled motion can show the life of a city. Leave some space in the direction of movement and avoid treating every blurred passerby as a failure. The important distinction is whether the motion looks intentional or simply results from an unstable camera.
Use Night Mode Selectively in Mixed and Difficult Light
Phone night modes are most useful when the subject is relatively still and the phone can remain steady. They can brighten a dim street, reveal detail in a shadowed facade, and balance a scene that would otherwise look almost black. The result is often created through several frames and substantial processing rather than a single conventional exposure.
That process can introduce artifacts. Moving people may appear ghosted, flags can become smeared, fine rooflines may merge, and bright lamps may develop halos. Skies can look unusually smooth or processed, while repeated frames of traffic may produce shapes that do not resemble the original scene.
For a static building, night mode may be a sensible starting point. For moving traffic, a crowd, waving foliage, or a person holding something by hand, make a shorter standard exposure as well. It may be darker, but it can preserve a more natural moment and reduce multi-frame confusion.
Bright signs, streetlamps, and headlights require exposure control. Tap the important area of the frame and lower exposure if the lights are losing texture or turning into featureless white patches. Make several deliberate variations rather than continuously dragging the control without checking the result. A darker image with readable lamps is often easier to refine than one with permanently clipped highlights.
Mixed lighting is another reason to review your frames carefully. LEDs, storefronts, headlights, and colored architectural lights can give different parts of the scene competing blue, green, orange, or magenta casts. Automatic white balance may produce a pleasing result, but it will not always make every surface look natural. Decide whether the color contrast contributes to the atmosphere or distracts from the architecture.
Work Safely and Respectfully in Historic Urban Areas
Good urban photography safety begins with looking away from the screen. Historic districts may contain uneven paving, steps, bicycles, traffic, water, and narrow passages. Keep one hand available when walking, stop in a safe position before composing, and do not back into a road or cycle lane to improve a frame.
Avoid blocking entrances, transit platforms, narrow walkways, emergency routes, or the natural flow around a popular landmark. If a location is crowded, move to the edge and wait for a usable gap instead of demanding space for a photograph. A compact setup is easier to control and less likely to attract unwanted attention.
Rules differ by place. Photography may be restricted or subject to special conditions around transport facilities, government buildings, religious sites, museums, borders, and other security-sensitive locations. Check current official guidance, posted signs, and venue policies rather than assuming that a rule from another city applies everywhere.
Respect also matters when photographing people. A distant scene in a public square is different from a close, identifiable portrait. Ask permission when the situation calls for it, and avoid intrusive photography during worship, ceremonies, private conversations, or moments involving vulnerable people. Do not treat a person’s lack of awareness as permission.
Crowded streets create practical risks for both equipment and personal information. Keep bags closed, use a secure grip, avoid displaying expensive gear unnecessarily, and remain aware of who is around you while reviewing images. Weather can increase risk: wet hands, slippery paving, and a phone exposed to rain can turn a promising stop into an avoidable problem.
Use a Simple After-Dark Shooting Workflow
Begin by scouting rather than immediately firing dozens of frames. Identify a stable position, the brightest highlight, the darker subject area, and the paths taken by people or vehicles. This gives you a reason for each adjustment and helps you decide whether the scene needs patience, a different angle, or a different camera mode.
Capture a baseline frame first. Then change one variable at a time: lower exposure, alter the framing, switch night mode on or off, or focus on a different part of the scene. Review the image at full size before leaving the location, since a thumbnail can hide blur and ghosting.
If the first attempt fails, choose one of five responses: wait for the light to improve or a subject to clear the frame; brace the phone more securely; move closer instead of zooming; lower exposure to protect bright lights; or change position so the existing light creates a stronger composition.
Sometimes the right decision is to accept motion. A streak of headlights, a soft figure crossing a square, or a blurred tram can communicate the city more honestly than a frozen but lifeless frame. The goal is not maximum sharpness in every pixel; it is control over what the viewer notices.
Watch battery and storage, especially when using navigation, repeated night-mode captures, bursts, video, or prolonged shooting in cold weather. Keep the lens clean, because a small smear can turn every streetlamp into a large flare. Save important images before relying on a long day of travel to preserve them.
The compact checklist is straightforward: wait for blue hour when you want balanced sky and architecture; brace the phone when exposure length increases; lower exposure when highlights clip; move closer when digital zoom weakens detail; change position when light is flat; and accept motion when it adds meaning. These choices matter more than any single automatic feature.
FAQ
Is blue hour better than complete darkness for photographing historic cities?
Often, yes. Blue hour usually offers a more balanced relationship between remaining daylight and artificial illumination, preserving sky color and architectural detail. Complete darkness can be more dramatic, but it creates stronger contrast and makes handheld sharpness more difficult. The better choice depends on whether you want balanced structure, dramatic lights, or a quieter late-night atmosphere.
How do I take sharper night street photos with an iPhone or other phone without a tripod?
Use two hands, keep your elbows close, stand firmly, and release the shutter smoothly. Brace against a stable surface when appropriate, use a timer or supported shutter control if it reduces movement, and take several frames. Confirm the stabilization, timer, and night-mode behavior for your specific device because features vary by model and software.
Should I use night mode for moving people, traffic, or bright city lights?
Not automatically. Night mode can help with static buildings and dim streets, but moving subjects may become ghosted or smeared during multi-frame capture. Make a shorter standard exposure as a comparison, reduce exposure when lamps or signs clip, and decide whether a little motion better represents the scene than aggressive processing.