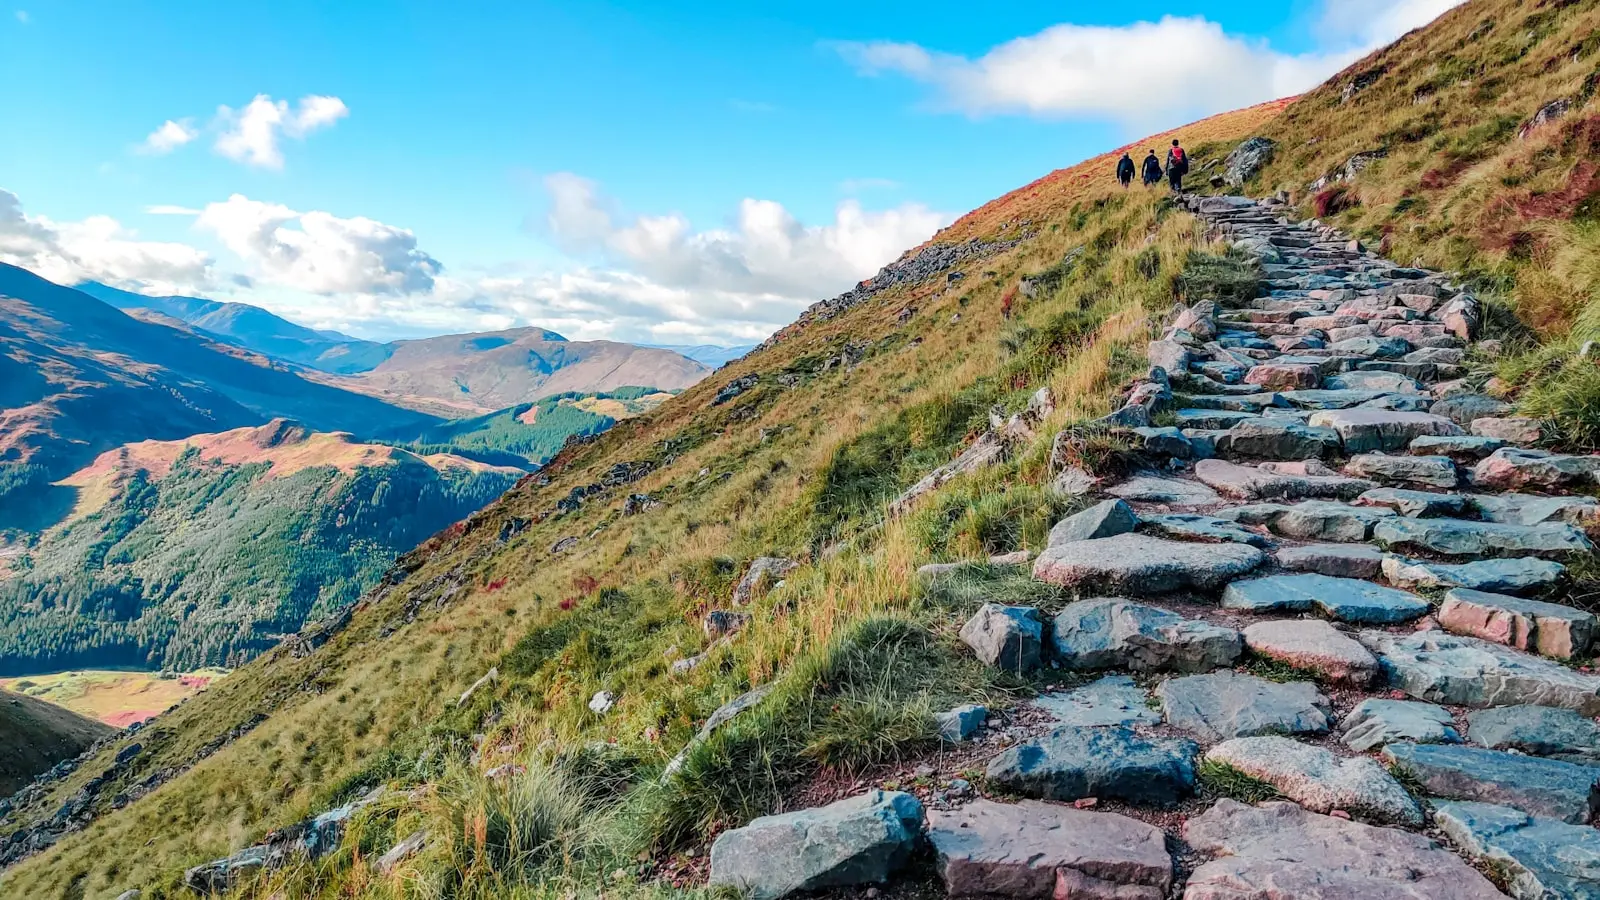
Mountain railways make Swiss scenery more accessible, but they do not make every mountain day physically passive. To train for mountain stairs, build comfortable walking capacity, add controlled step-ups and calf work, then practice modest downhill strength and balance. The goal is not expedition fitness. It is enough endurance and confidence for platforms, viewpoints, uneven paths, slopes, and long sightseeing days.
The useful middle ground is gradual preparation. Too little activity can leave calves, knees, and feet unprepared for repeated stairs and descents; too much, especially close to departure, can create soreness or aggravate an existing problem.
Key Takeaways
- Mountain railways reduce long uphill approaches, but station stairs, short climbs, uneven paths, and full days on your feet still add up.
- Build from your current walking ability rather than chasing a step target or fitness benchmark.
- Combine easy walks with step-ups, sit-to-stands or shallow squats, calf raises, and safe balance practice.
- Add controlled lowering work early for downhill walking strength, but avoid introducing it aggressively before travel.
- Taper in the final days, pace the first mountain days conservatively, and check current route and accessibility information with the relevant operator.
Start With the Real Demands of a Rail-Based Mountain Day
A Swiss rail itinerary usually removes the long uphill approach associated with a hiking day. It can still involve station stairways, platform changes, queues, short climbs to lookouts, walks between attractions, and long periods of standing. Even a day built around trains and cable cars can mean several hours on your feet.
The challenge is often stop-start rather than continuous. You may walk, sit on a train, climb stairs, wait, then walk again on a sloping or uneven surface. That pattern calls for basic leg strength and walking tolerance, especially when travel fatigue, poor sleep, cold weather, or unfamiliar terrain make normal activity feel harder.
Elevation may also make a familiar effort feel more demanding. Leave a margin rather than assuming your usual city-walking pace will translate exactly to a mountain day. A practical goal is to manage several hours of broken-up walking and short stair or slope sections while retaining enough energy to make good decisions.
Rail access is not the same as universal accessibility. Stair-free routes, lifts, path surfaces, viewpoint access, construction work, seasonal conditions, and weather can vary by station and attraction. Check current information from the relevant railway or destination operator before travel, particularly if your group needs a lower-walking option.
Set a Baseline Before You Train for Mountain Stairs
Use your current routine, not a generic step target or fitness score, to choose a starting point. Ask: How long can you walk at an easy pace without feeling depleted? Can you climb one or two flights of stairs with control? How do your knees, calves, and feet feel later that day and the next morning? Can you carry a light daypack without changing your posture?
If you do little planned walking, begin with short, flat walks and supported strength movements. Consistency is the first win, not a hard workout. If 10 or 15 minutes feels like a meaningful session, it is a valid starting point.
If you already walk regularly but rarely use hills, add step-ups, calf work, and one gradually longer walk each week. The gap is often not general activity; it is repeated climbing and descending when legs are already tired.
If departure is close, resist the urge to cram. Frequent easy walks and a small amount of basic stair preparation are more useful than one punishing weekend followed by several days of limping.
Keep most walks at an effort where conversation remains reasonably comfortable. This can help prevent every session from becoming a test, but it is not a medical assessment. Seek individualized guidance rather than relying on general advice if you have health concerns.
Pause and speak with a qualified clinician before starting or progressing a program if you have chest symptoms, unexplained breathlessness, dizziness, a recent injury, substantial joint pain, or an unmanaged chronic condition. General mountain walking preparation is not a substitute for assessment or rehabilitation.
Build Walking Endurance and Stair Strength Over Four to Six Weeks
Four to six weeks is a practical runway for mountain walking preparation because it gives you time to progress without demanding a dramatic transformation. Increase only one main variable at a time: walking duration, terrain, stair volume, pack weight, or session frequency. Changing everything together makes it harder to judge what your body is tolerating.
Start with easy walks you can complete without a lengthy recovery. Gradually lengthen one walk each week while keeping the other sessions comfortable. As the trip approaches, an occasional pair of back-to-back walking days can help you rehearse the accumulated fatigue of travel.
For stair capacity, step-ups are direct and practical. Use a stable, low step, hold a rail or wall if needed, and alternate the leading leg. Move slowly enough to keep the foot planted and the knee comfortable; speed and step height matter less than control.
Sit-to-stands from a chair or shallow squats build capacity for repeated rising, low steps, and prolonged standing. Calf raises prepare the lower legs for stairs, slopes, and uneven surfaces. Use support for balance when needed, and do not force painful ranges.
If you are already walking comfortably, add brief hill or stair intervals followed by easy recovery. Treat these as controlled uphill efforts, not a race to create burning legs. Hard stair workouts generate fatigue quickly and offer little benefit if they compromise the rest of the week.
A conservative sample week includes:
- Two to four easy walks, adjusted to your baseline.
- Two short, nonconsecutive strength sessions with step-ups, sit-to-stands or shallow squats, calf raises, and a balance drill.
- One longer easy walk that builds gradually.
- At least one full rest or light-recovery day.
Mild, short-lived muscular fatigue can accompany new activity. Sharp pain, swelling, altered walking mechanics, or symptoms that worsen instead of settling are reasons to stop and reassess.
Add Downhill Control, Balance, and Travel-Specific Practice
Downhill walking strength matters because descending challenges the thighs differently from climbing. You may feel fine on a short ascent but find repeated descents harder on knee control, ankle stability, and confidence. This is especially relevant on sloping paths after a long day of standing and walking.
Controlled lowering movements are a sensible way to prepare. Try low step-downs with support, a supported split-squat variation, or a slow lowering phase during step-ups. Begin with a small range and low volume, keeping the movement smooth instead of dropping onto the lower foot.
Downhill-focused work can cause delayed soreness, particularly when it is new. Introduce it early and conservatively, and do not assume it will prevent knee pain or eliminate post-walk soreness. Its role is to build familiarity with controlled lowering.
Balance practice should be low risk and relevant to uneven paths. Supported single-leg standing, heel-to-toe walking in a clear space, and slow controlled stepping are suitable options. There is no need for unstable surfaces or difficult drills that raise the chance of a training fall.
Once regular walking feels comfortable, rehearse with the footwear and light daypack you plan to use. Keep the pack modest. If it makes your shoulders tense, changes your stride, or triggers pain, reduce the load rather than treating discomfort as necessary preparation.
Some travelers find walking poles useful on slopes because they provide an extra point of contact and encourage deliberate pacing. Practice with them before departure. They are not ideal in every setting, including crowded platforms and narrow paths, so use them with awareness of the space around you.
Prioritize footwear that fits well, has traction suited to likely surfaces, and has been worn enough to reveal problems before travel. Buying rigid specialist boots solely for rail-based sightseeing can be an unnecessary overcorrection. Familiar, comfortable footwear is often the better choice for routes dominated by stations, paved areas, and straightforward paths.
Taper Before Departure and Pace Yourself in Switzerland
In the final several days before travel, reduce training volume. Keep light walks and gentle mobility if they feel good, but avoid unfamiliar high-intensity stair sessions, long descents, or attempts to catch up on missed training. Arriving slightly undertrained but rested is generally better than arriving sore.
Start the first mountain day below your maximum effort. Break walks into short segments and use benches, stations, cafés, and viewpoints as natural recovery points. Shorter steps on descents can improve control, and slowing down early is better than waiting until your legs feel shaky.
Eat and drink regularly according to your personal needs, the weather, and the length of the day. Build extra time into the itinerary so connections do not become a physical rush. Adjust plans for fatigue, changing conditions, route closures, altitude-related symptoms, and the least comfortable walker in the group.
Choosing a closer viewpoint, using a lift where available, or turning back is sensible route management. Swiss hiking trip fitness is not about proving toughness; it is about preserving enough energy and confidence to enjoy the landscape.
FAQ
Do I need to be fit to use Swiss mountain railways?
No special hiking background is required for many rail-based mountain visits. However, basic walking fitness can make stairs, platforms, viewpoints, and full sightseeing days more comfortable. Access and walking demands vary by destination and route, so check current official information for your specific plan.
How long should I train for mountain stairs before a Swiss trip?
Four to six weeks gives many non-athletes a sensible period to build walking consistency and basic leg strength gradually. If your trip is sooner, focus on easy regular walking, controlled step-ups, and pacing rather than intense stair sessions. Results will vary with your starting point, recovery, and health status.
What is the best exercise for downhill walking strength?
Controlled step-downs and slow lowering movements are practical choices because they rehearse the braking action used on descents. Pair them with walking, calf raises, and basic leg-strength work. Use support, a comfortable range, and modest volume; pain is not required for effective mountain walking preparation.